A Best Guide to Know Plate Nuts: How to Configure and Install
Fasteners are a critical component in aerospace engineering, ensuring the structural integrity and safety of aircraft components. Among these fasteners, plate nuts, also known as captive nuts, play a unique role in simplifying installation processes and enhancing overall reliability. In this article, we delve into the concept of plate nuts, their configurations, and the step-by-step process for their installation.
What are Plate Nuts
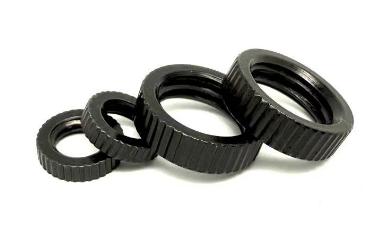
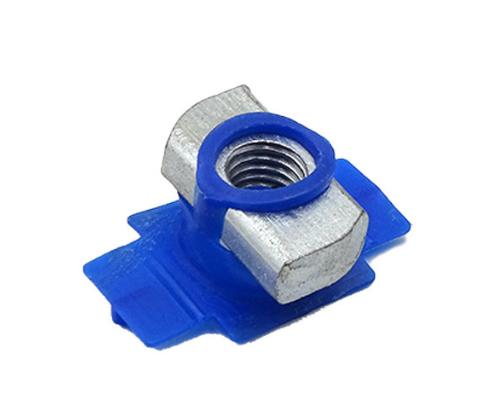
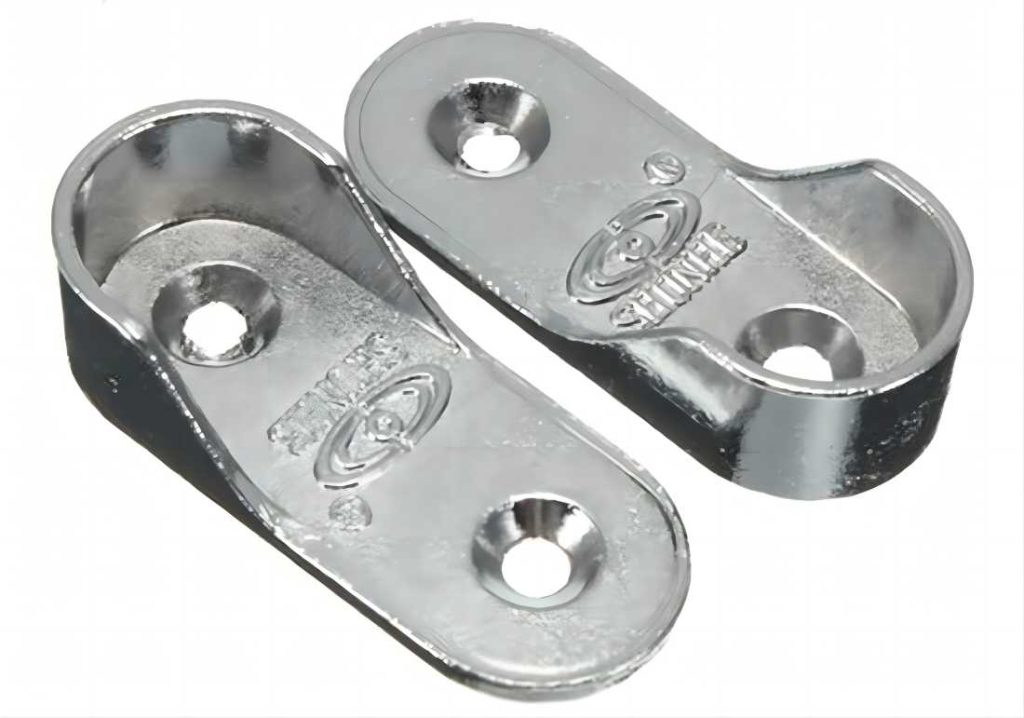
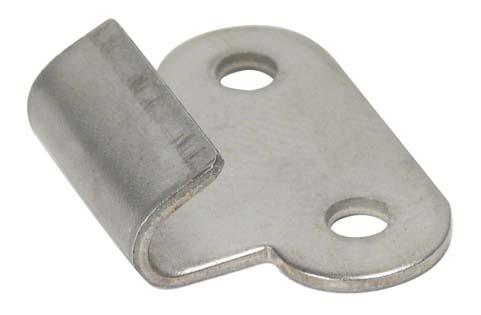
Plate nuts, or captive nuts, are innovative fasteners designed to pre-install nuts onto aircraft components, eliminating the need for additional tools to secure the nuts while installing screws or bolts. They typically consist of self-locking nuts and a supporting plate. Depending on the design, they can either be fixed or floating. In the case of fixed plate nuts, the nut and the plate are integrated, while floating plate nuts involve a nut being attached to the plate.
The plate of a plate nut contains one large hole and two smaller holes. The larger hole is used for subsequent screw installation, while the two smaller holes with a diameter of 2.38mm are meant for mounting the plate nut onto the component.
How to Configure Plate Nuts
The configuration, dimensions, materials, and coatings of plate nuts can vary widely based on the application area and environment. Specific information can be obtained by referencing the production standards of the fasteners. For example, the plate nut commonly used in the cargo hold of a Boeing 737-300 has the part number BACN10JR3F. Through this part number, one can gather details such as the plate nut being double-sided floating, with a threaded standard of 1900-32UNJF-3B, made from steel, and coated with cadmium. The last letter “F” indicates that the nut is floating, and technical data about fastener installation hole dimensions and spacing can also be inferred.
How to Install Plate Nuts
The installation of plate nuts is a meticulous process that requires attention to detail and adherence to industry standards. To achieve a secure and corrosion-resistant installation, the following steps are recommended:
- Proper Positioning: Identify and mark the screw holes and small installation holes on the component where the plate nut will be installed. Ensure that the installation holes of the plate nut do not interfere with the structural integrity.
- Drilling and Hole Preparation: Drill the screw holes for the plate nut on the component and use a plate nut drilling jig to create the small installation holes. It’s crucial to choose the correct drilling jig based on the configuration and dimensions of the plate nut.
- Surface Preparation: Debur the holes as needed and apply anti-corrosion and paint coatings to the holes.
- Component Cleaning: Thoroughly clean the surface of the component using approved cleaning agents, making sure the fastener holes are clean as well.
- Inspection and Selection: Inspect the integrity of the plate nut’s configuration and coating. Avoid using damaged plate nuts and refrain from applying excessive lubricants or anti-corrosion materials. For cadmium-coated plate nuts, minor imperfections can be protected using primer or other coatings.
- Sealant Application: If wet installation is required, apply a suitable sealant evenly onto the plate nut or component surface. Ensure that sealant does not block fastener holes and does not hinder the movement of the floating plate nut’s nut, preventing interference during the installation of subsequent screws or bolts.
- Rivet Installation: Secure and clamp the plate nut in place using locating pins and install rivets or blind fasteners. Carefully avoid damaging the plate nut’s mobility during the riveting process.
- Final Inspection: After installation, inspect the fitment of the plate nut and the component to ensure there are no gaps. Ensure that excess sealant is not present in the screw holes.
Alternate Installation Methods
Apart from using rivets or blind fasteners, another installation method for plate nuts is spot welding. When employing spot welding to connect plate nuts, it’s crucial to control the welding process to allow for future removal of the plate nut using drilling. This is especially important for maintenance and replacement purposes.
During scheduled inspections, closely examine the plate nuts in the vicinity of access panels. Over time, the nuts in floating plate nut assemblies might become loose due to vibration or corrosion. In case corrosion needs to be removed from aluminum alloy structures where plate nuts are installed, carefully remove the interfering plate nuts before performing the corrosion removal to prevent any damage to the plate nuts or contamination of the aluminum alloy.
In conclusion, plate nuts are innovative fasteners that simplify installation procedures and enhance reliability in aerospace applications. Their various configurations and installation methods provide versatility to accommodate different requirements. Adhering to the recommended installation steps ensures that plate nuts contribute to the overall safety and functionality of aircraft components.