How to Check Torque on a Bolt? 3 Methods
Table of Contents
In fields such as mechanical maintenance, construction, and automotive care, checking the torque on bolts is crucial. Bolts not only bear the force of the entire structure but also directly impact the stability and safety of the equipment. So, how to check torque on a bolt? In this article, we will introduce three methods for checking bolt torque to ensure your equipment is always in optimal condition.
Part 1. What is Bolt Torque?
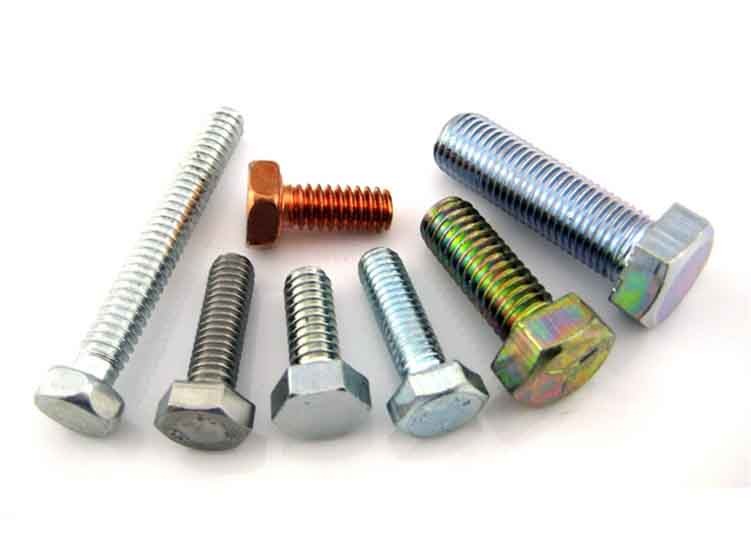
Let’s start by understanding what “torque” is. In simple terms, torque is the rotational force generated when a force is applied to rotate an object. In the context of bolts, torque refers to the rotational force used to tighten a bolt. The correct torque value ensures that the bolt is securely fastened without over-tightening it, which could damage the bolt or the connected parts.
Part 2. Why is Bolt Torque Important?
Bolt torque is one of the key parameters in mechanical connections that directly affects the safety and stability of the structure. During the assembly, maintenance, or operation of machinery, the fastening torque of bolts must meet specified standards.
- Too low a torque: it can lead to bolt loosening, causing failures.
- Too high a torque: it may damage the bolt or the connecting parts, leading to structural failure.
Therefore, ensuring proper bolt torque is essential not only for safeguarding the equipment’s safe operation but also for extending its service life of the equipment.
Part 3. How to Measure Torque on Bolt?
Measuring the torque on a bolt is crucial to ensure that the fastener is tightened correctly, preventing potential issues such as loosening or damage. Below are three common methods for measuring bolt torque, with detailed steps for each.
Way 1. Movement Check
The movement check is the most basic method for determining whether the bolt has reached its desired torque value. This method is simple and direct, suitable for small equipment and basic connections, but may not be precise enough for high-precision applications.
Step 1. Set the Desired Torque Value
Use a torque wrench to set it to the manufacturer-recommended bolt torque value. The torque wrench usually has calibrated scales, allowing you to set the desired value directly.
Step 2. Apply Force Evenly
Hold the torque wrench and apply force slowly, ensuring that the force is applied evenly and continuously. Avoid sudden or rapid movements.
Step 3. Listen for the “Click”
When the bolt reaches the set torque value, the torque wrench will typically emit a “click” sound or vibrate, indicating that the desired torque has been reached. At this point, stop applying force.
Step 4. Repeat the Check
If you are unsure whether the preset torque has been fully achieved, repeat the process to ensure that each bolt is tightened correctly.
Suitable for:
- Low-precision applications, small mechanical devices, and general bolt connections.
- This method may not be suitable for precision or special equipment.
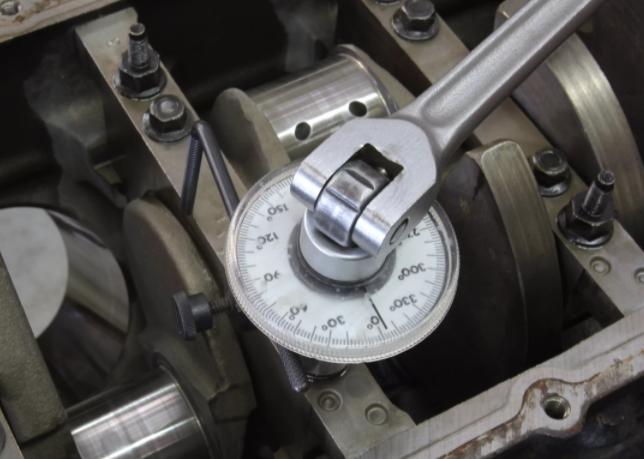
Way 2. Loosening Check
The loosening check method involves checking the bolt’s tightness by applying force and loosening it slightly. This method helps to assess whether the bolt has been tightened sufficiently and is commonly used for routine checks.
Step 1. Tighten the Bolt
Use a torque wrench to tighten the bolt to the predetermined torque value. Ensure that the bolt is securely tightened in the right direction.
Step 2. Loosen the Bolt Slightly
Lightly loosen the bolt using the torque wrench. The amount of looseness should be minimal, just enough to detect any changes without affecting the device’s functionality.
Step 3. Reapply the Same Torque
Tighten the bolt again using the torque wrench and the same torque value. Compare the force required to tighten the bolt after loosening it. If the bolt becomes too loose too easily, it may not have been properly tightened.
Step 4. Check for Stability
The key to this method is to determine whether the bolt is likely to continue loosening during operation. By reapplying the torque, you can indirectly assess the bolt’s tightness.
Suitable for:
- Checking if the bolt is securely tightened and unlikely to loosen during operation.
- Regular checks and maintenance, especially in environments subject to vibration or load changes.
Way 3. Marking Check
The marking check method involves marking a reference point on the bolt to monitor any changes in its position over time. This is a simple and effective method, especially for equipment that doesn’t allow for frequent torque checks.
Step 1. Mark the Bolt
Use paint, a marker, or a scratch tool to mark the bolt head and the corresponding part of the assembly. The mark serves as a reference point to check whether the bolt has rotated or loosened.
Step 2. Regularly Inspect the Marking
Periodically inspect the markings on the bolt to see if there are any changes. Look for signs of the bolt rotating or loosening, such as blurred or displaced marks.
Step 3. Look for External Changes
In addition to checking the marks, observe whether the contact surfaces between the bolt and the connection part have changed or shown signs of wear, which might indicate loosening.
Step 4. Recheck the Bolt Position
If the mark has moved, it suggests that the bolt may be loosening or was not tightened properly in the first place. The torque should be reapplied.
Suitable for:
- Long-term use of equipment, especially when frequent torque checks are not feasible.
- Applications where bolts may be subject to vibration or load fluctuations over time.
Part 4. Why Should Check Bolt Torque Regularly?
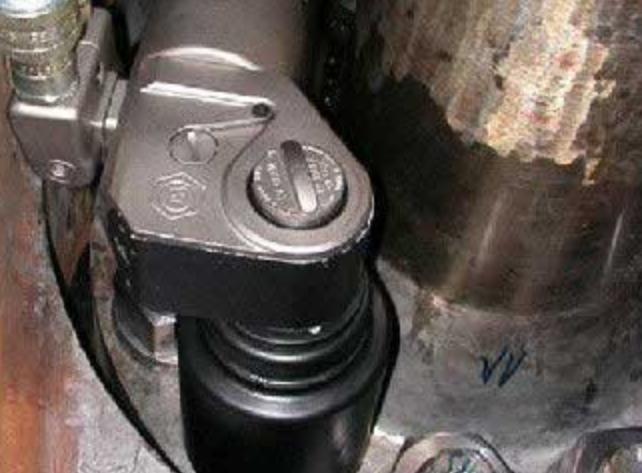
Regularly checking bolt torque is essential for maintaining the safety, reliability, and performance of equipment and structures. Neglecting this critical maintenance step can lead to a range of issues, including equipment failure, safety hazards, and increased maintenance costs.
1. Ensure Structural Integrity
Bolts are crucial components for holding structures and machinery together. Over time, factors such as vibration, thermal expansion, and load changes can cause bolts to loosen. Regular torque checks ensure that bolts are securely tightened to maintain the structural integrity of the assembly.
2. Prevent Equipment Failure
Loose or over-tightened bolts can cause misalignment or component wear, leading to unexpected equipment breakdowns. Regular torque inspections help identify and address potential issues before they become costly failures.
3. Enhance Safety
Loose bolts pose significant safety risks, particularly in high-risk environments like construction, transportation, and industrial machinery. Regularly checking the bolt torque reduces the risk of accidents caused by equipment malfunction or structural collapse.
4. Comply with Industry Standards
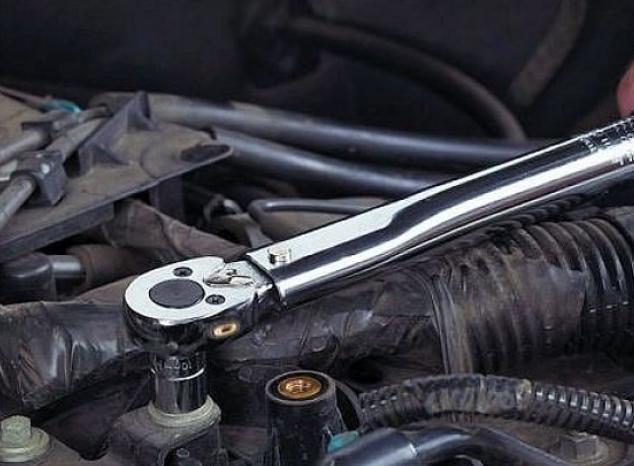
Many industries, such as automotive, aerospace, and manufacturing, have strict regulations regarding torque specifications. Regular inspections ensure compliance with these standards, avoiding legal liabilities, and maintaining product quality.
5. Prolong Equipment Lifespan
Properly torqued bolts minimize stress on equipment and reduce wear and tear on connected components. This extends the lifespan of machinery, saving costs on repairs and replacements in the long run.
6. Adapt to Changing Conditions
Operating conditions such as temperature fluctuations, vibrations, and heavy loads can impact bolt tension. Regular torque checks allow for adjustments to accommodate these changes, ensuring optimal performance under varying conditions.
Final Thoughts
Checking bolt torque is a critical step in ensuring the safe operation of equipment. By using the right tools to ensure accurate torque, you can significantly enhance equipment reliability and reduce the risk of failures. Whether for routine maintenance or equipment installation, paying attention to bolt torque can effectively extend the lifespan of your equipment and improve overall safety.
FAQs about Bolt Torque
How to calculate bolt torque?
Bolt torque is calculated using T=K*F*d, where TTT is torque, K is the torque coefficient, F is the clamping force, and d is the bolt diameter. This ensures proper tightness for the application.
How do you guess torque without a torque wrench?
To estimate torque without a torque wrench, you can use the “hand-feel” method by applying consistent force with a regular wrench based on the bolt size and material.
Another approach is the “marking method,” where you pre-tighten the bolt to a known angle or alignment mark. However, these methods are less accurate and should only be used when precision is not critical.
How can we determine how tight to tighten a bolt?
To determine how tight to tighten a bolt, refer to the manufacturer’s specifications or torque chart, which provides recommended torque values based on the bolt’s size, grade, and material.
If the specifications are not available, consider the application’s load requirements, bolt material, and lubrication. Using a torque wrench ensures precise tightening to avoid under-tightening or over-tightening.

