How to Measure a Rivet
Whether you’re working in a noisy machine shop, a busy construction site, or doing a DIY project at home, rivets – those small but powerful fasteners – play a big role in holding things together.
Like little buttons, they securely connect metal, plastic, or composite parts. But getting their size wrong can lead to poor assembly and weak joints. How to measure a rivet? This guide is your go-to tool for mastering the basics and making sure every connection is solid and secure! Let’s go!
Table of Contents
Part 1. What is a Rivet?
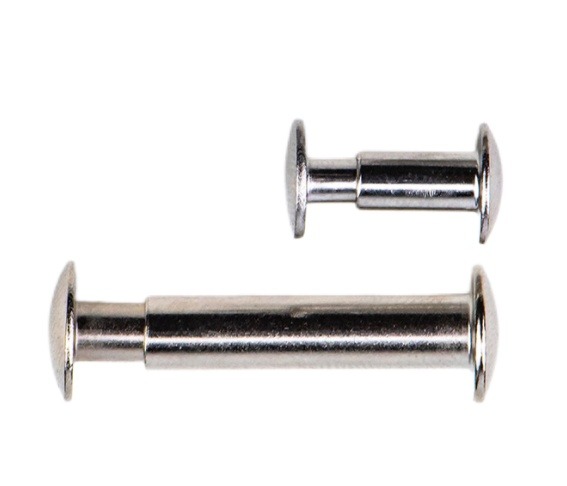
What is a rivet? Well, a rivet is a type of fastener used to create a permanent connection between two or more materials. Once installed, it typically cannot be removed without being destroyed.
A rivet consists of two main parts: the shank and the head. During the riveting process, the rivet is deformed to lock tightly between the materials, forming a strong and lasting bond.
Common types of rivets include:
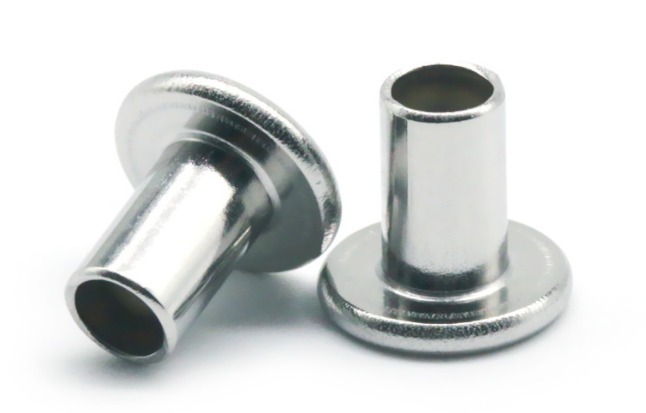
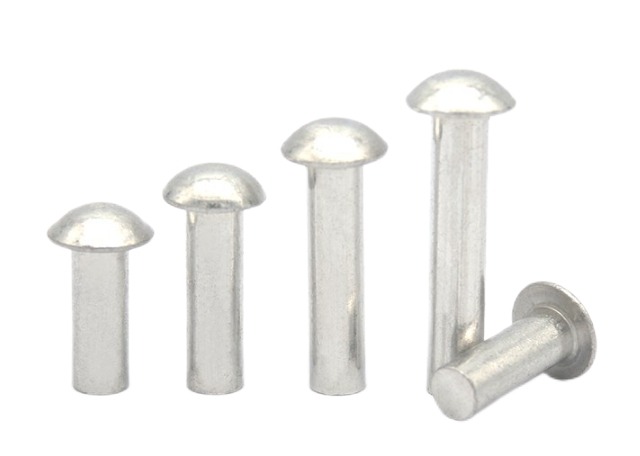
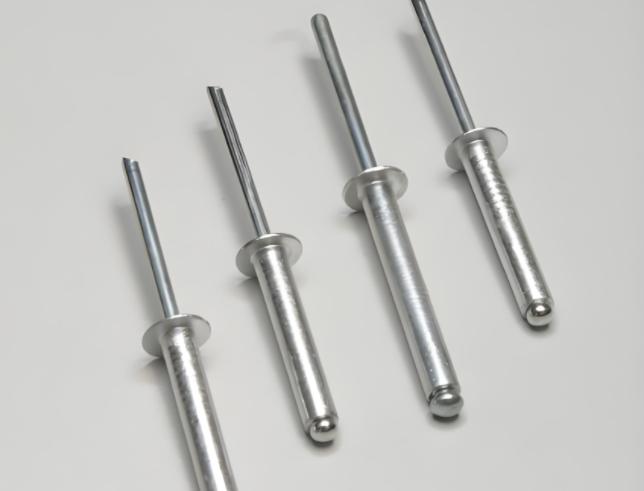
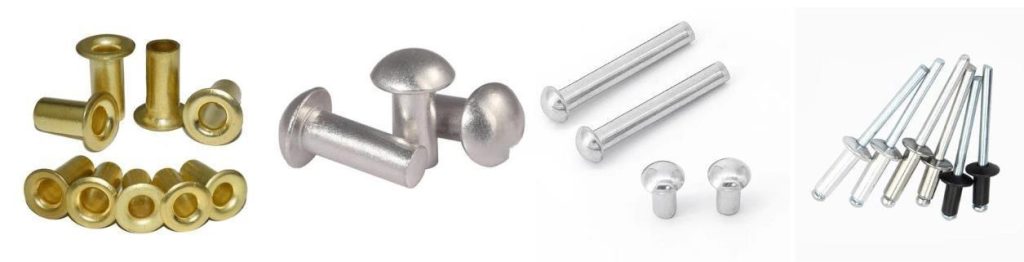
- Solid Rivet
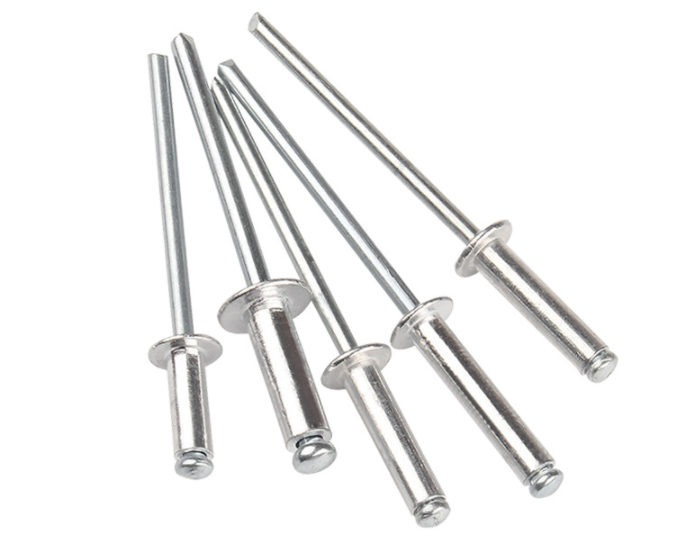
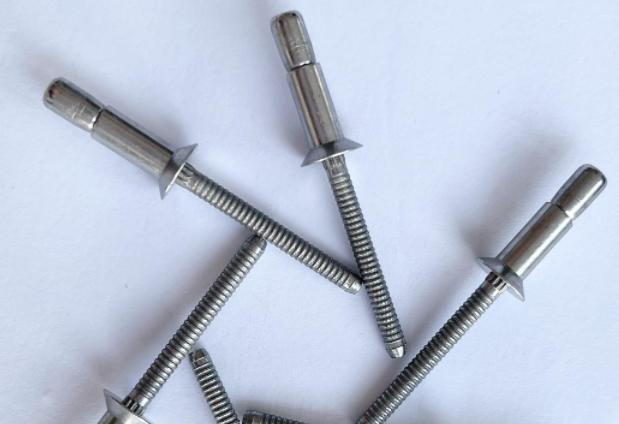
- Blind Rivet (Pop Rivets)
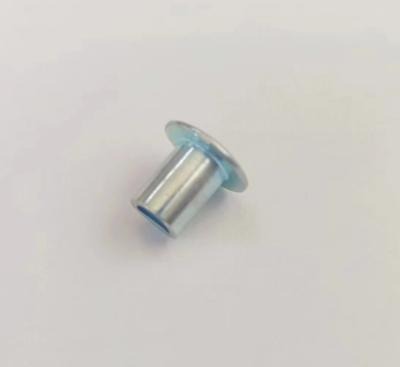
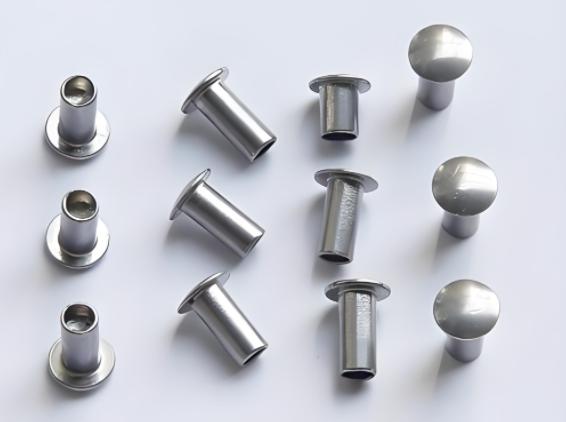
- Semi-tubular Rivet
- Drive Rivet
While each type may have slight differences in how it’s measured, the fundamental parameters remain largely the same.
Part 2. Key Measurement Parameters of a Rivet
When measuring a rivet, it’s important to understand several key dimensions that directly affect its performance and application.
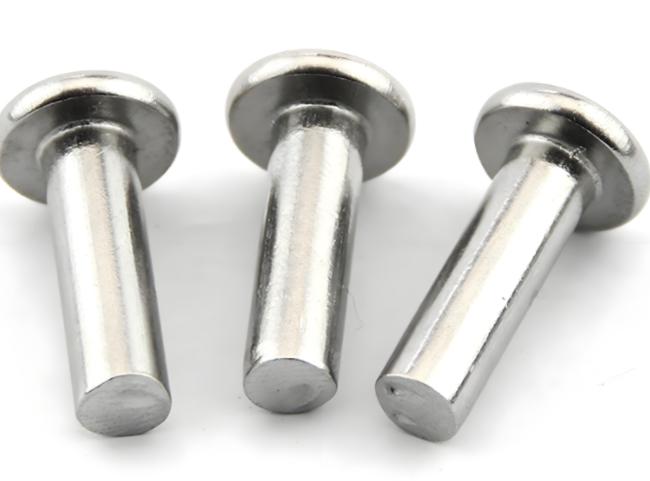
Shank Diameter
This refers to the diameter of the rivet’s main body (the shank).
- It determines the size of the hole that needs to be drilled for proper installation.
- Accurate measurement ensures a snug fit, which is essential for strength and durability.
Rivet Length
Measured from the underside of the rivet head to the end of the shank.
- It defines the total length of the rivet body that will pass through the materials being joined.
- This length determines whether the rivet can fully penetrate and fasten the intended thickness of materials.
Grip Range
This is the range of material thickness that the rivet is designed to fasten securely.
- It represents the minimum and maximum combined thicknesses of the materials that the rivet can grip.
- The grip range is typically provided by the manufacturer, as it depends on the rivet’s design and deformation characteristics.
- It’s not easily measured directly and should always be confirmed with product specifications.
Head Diameter and Head Height
These refer to the size and profile of the rivet’s head.
- Head Diameter affects the contact area and is important when calculating countersink hole sizes for flush mounting.
- Head Height influences how much the rivet protrudes above the surface after installation, which can impact both aesthetics and function.
- For applications requiring a smooth or flush finish, these measurements are critical in selecting the appropriate rivet type and style.
Part 3. How to Measure a Rivet: Step-by-Step Guide
Accurately measuring a rivet ensures you select the right one for your application. Below is a detailed breakdown of the key steps involved:
Step 1: Prepare the Measuring Rivets Tools
To accurately measure rivets and ensure proper fit, you’ll need a few essential tools that provide precise dimensions and compatibility checks.
- Vernier Caliper: The ideal tool for accurately measuring both diameter and length.
- Steel Ruler: Useful for rough or quick length measurements when high precision isn’t required.
- Rivet Specification Chart: Helps you compare rivet models and determine the correct grip range.
- Hole Gauge (Optional): Used to measure hole diameters and check compatibility with rivet sizes.
Step 2: Measure the Shank Diameter
Use a vernier caliper (or digital caliper) to measure the diameter of the un-deformed portion of the shank—that is, the smooth, cylindrical part just below the head.
- Common sizes include 3.2 mm, 4.0 mm, and 4.8 mm.
- The hole diameter for installation should typically be 0.1–0.2 mm larger than the shank diameter to allow for proper fit and expansion during riveting.
- For example, a 4.0 mm rivet would need a hole of about 4.1–4.2 mm.
Step 3: Measure the Total Rivet Length
With the caliper, measure the total length from the underside of the head to the tip of the shank.
- Place one caliper jaw at the flat bottom of the rivet head, and extend the other to the end of the shank.
- If the rivet has a countersunk head, make sure to start measuring from the flat part of the head that sits flush with the surface—not the pointed tip of the countersink.
- This dimension helps you determine whether the rivet is long enough to pass through the combined thickness of the materials being joined.
Step 4: Determine the Grip Range
The grip range is the range of total material thickness that the rivet is designed to fasten.
- This is not measured directly with tools, as it depends on how the rivet deforms during installation.
- Grip range is specified by the manufacturer and can be found on the rivet packaging, datasheet, or product catalog.
- For example, a 4.8 mm × 12 mm blind rivet may have a grip range of 3–6 mm, meaning it can securely fasten materials with combined thickness within that range.
- Choosing a rivet with an incorrect grip range can lead to poor clamping or incomplete fastening.
Step 5: Measure the Head Dimensions (If Required)
In some applications—especially where aesthetics or flush fitting is important—you may need to measure the head diameter and height:
- Head Diameter: Use calipers to measure across the widest part of the head. This is crucial when preparing countersink holes or ensuring the head doesn’t interfere with surrounding parts.
- Head Height: Measure vertically from the base of the head to its highest point. This helps assess how much the rivet will protrude above the surface after installation.
These measurements are especially important for flush-mount or countersunk rivets and where a smooth surface finish is required.
Part 4. Common Mistakes When Measuring Rivets
Avoiding common measurement mistakes is crucial to ensure rivets fit properly and perform as expected in your assembly process.
1. Ignoring Grip Range and Focusing Only on Total Length
One of the most common mistakes is to measure only the total length of the rivet without considering its grip range.
The grip range refers to the thickness of the materials the rivet is designed to fasten.
If the total material thickness exceeds or falls short of the rivet’s grip range, the rivet may fail to secure the materials properly, leading to weak connections or even total rivet failure.
Always ensure the rivet’s grip range is appropriate for the combined thickness of the materials you are working with.
2. Measuring Deformed Rivets
Some people mistakenly measure rivets that have already been installed or deformed during the riveting process.
Rivets should be measured in their uninstalled, undeformed state to ensure accurate dimensions.
Once a rivet has been installed and deformed, its dimensions will change, making measurements unreliable.
Always measure rivets before installation to guarantee a proper fit and accurate data.
3. Using Incorrect Tools
Using the wrong measuring tools can lead to significant errors in your measurements.
For example, measuring the diameter of a rivet with a tape measure is highly inaccurate due to the tape’s lack of precision and flexibility.
It’s best to use calipers, which provide precise measurements, especially for small and intricate components like rivets.
Avoid tools like tape measures or rulers for detailed measurements to ensure accuracy.
4. Not Considering the Impact of Head Dimensions on the Hole
In some cases, the head diameter and height of the rivet can significantly affect the installation process.
Particularly in precision assemblies, a rivet head that is either too large or too small may cause installation issues, such as not fitting into the countersunk hole or causing uneven pressure.
Make sure the rivet head is compatible with the size of the hole, especially for flush-mounted or countersunk applications.
Always verify the head dimensions before installation to avoid any fitting problems.
By being mindful of these common mistakes, you can ensure accurate rivet measurements, resulting in better assembly quality and more reliable fastening.
Part 5. How to Choose the Right Rivet?
After measuring the rivet, several factors need to be taken into account to ensure you select the most suitable rivet for your application:
Total Material Thickness
The combined thickness of the materials you are joining must fall within the grip range of the rivet.
If the materials are too thick or too thin, the rivet won’t form a secure connection, potentially leading to weak joints or failure.
Hole Diameter and Shank Diameter Compatibility
The hole diameter must match the shank diameter of the rivet.
- A tight fit ensures proper deformation during installation, providing a strong and lasting hold.
- Ensure the hole size is slightly larger than the rivet shank diameter, typically by 0.1–0.2 mm.
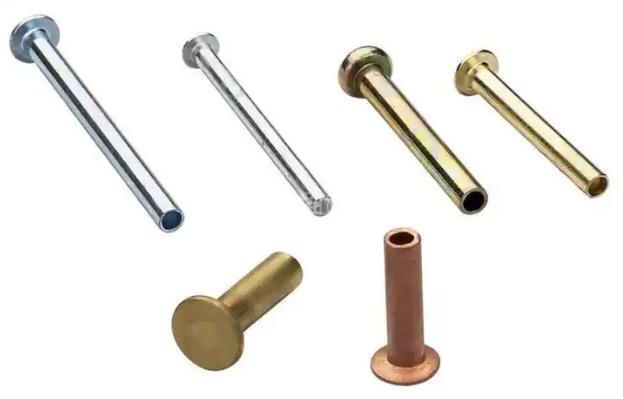
Rivet Material and Environmental Compatibility
The material of the rivet should match the specific operating environment in which it will be used.
- Different materials, such as aluminum, stainless steel, or copper, offer varying levels of strength, corrosion resistance, and durability.
- Choose a material based on environmental factors like exposure to moisture, chemicals, or extreme temperatures.
Aesthetic and Functional Requirements
Consider whether the rivet’s appearance is important for your application.
- Do you need a flush or countersunk rivet for a smooth surface?
- A rivet with a larger or smaller head may be necessary depending on whether the rivet will be visible after installation.
Looking for High-Quality Rivets?
KENENG rivet manufacturer offers a wide range of rivet products with various standard sizes, as well as customization services based on your specific requirements. Whether you need solid rivets, blind rivets, or specialized structural rivets, it can recommend the ideal product based on your assembly needs, ensuring a precise fit and efficient installation.
Its rivets are manufactured according to ISO and industry standards, and are widely used across automotive manufacturing, electronics, appliances, construction, and metalworking industries.
Final Words
Accurately measuring rivet dimensions is the first step in ensuring fastening effectiveness and assembly precision. Mastering the shank diameter, overall length, grip range, and head dimensions not only helps you choose the right model but also prevents rework and waste.
If you frequently use rivets, it’s recommended to have a vernier caliper and a rivet specification chart on hand to improve efficiency and reduce errors. If you need high-quality, high-precision rivet products, feel free to contact KENENG for professional, stable, and cost-effective rivet solutions.