How to Remove a Stripped Screw
Table of Contents
In-home repairs, DIY projects, or car maintenance, screws are essential tools, but removing stripped screws is a common challenge that many people face during repairs, often causing frustration.
How to remove a stripped screw?
Don’t worry! Today, we will share some practical tips to help you easily tackle this issue and remove stubborn stripped screws. Let’s get started!
Part 1. What Causes Screws to Strip?
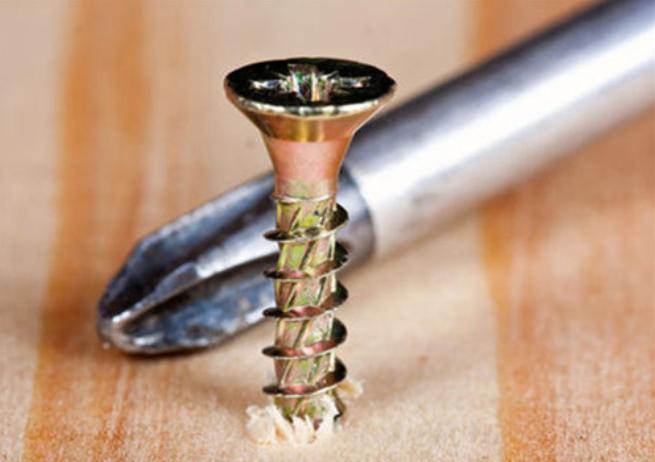
Before we delve into removing stripped screws, let’s first understand their causes. Stripped screws can occur due to various factors.
For example, over-tightening, incorrect tools, poor screw material or quality, misaligned threads, frequent disassembly, and exposure to moisture or rust. Over-tightening can also damage or tear the threads, while using mismatched tools applies uneven pressure, potentially causing the screw head to deform.
Low-quality screws and frequent disassembly lead to thread wear, and exposed screws to moisture are more susceptible to rust and corrosion. Therefore, it’s important to use the right tools, choose high-quality screws, and avoid over-tightening.
Part 2. 8 Ways to Easily Remove a Stripped Screw
When dealing with stripped screws, using the right technique can make the task much easier. Here, we provide 8 effective methods to remove a stripped screw, each with clear instructions on how to use them.
1. Rubber Band
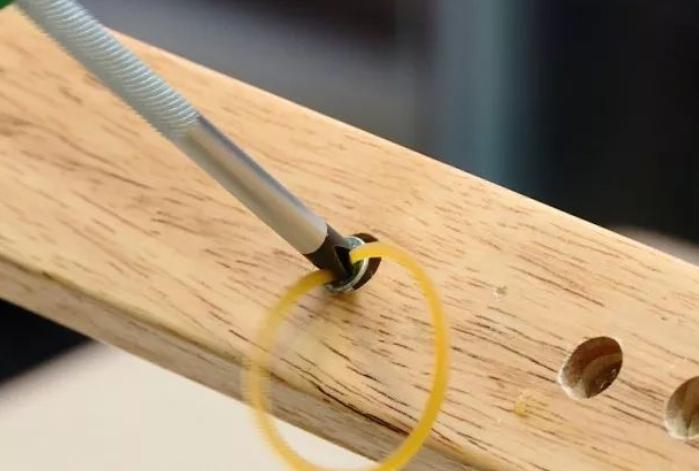
A simple yet effective method for removing slightly stripped screws involves using a rubber band. This technique is most effective when the screw head is only slightly damaged, as the rubber band helps to fill in the gaps and provide extra grip.
By placing the rubber band over the screw, you can increase friction, making it easier to turn the screw without slipping. It’s a quick and inexpensive solution that works particularly well for screws with minor wear.
How to Use:
- Place a wide rubber band (like one from a jar lid) over the stripped screw.
- Press your screwdriver into the rubber band, making sure the rubber fills the grooves in the screw head.
- Turn the screwdriver counterclockwise. The rubber band adds extra friction, giving the screwdriver a better grip on the screw.
Why It Works: The rubber provides additional traction, which can help your screwdriver grip the stripped screw and turn it loose.
2. Glue
If the stripped screw head is smooth and there’s no grip left, you can use glue to temporarily bond your screwdriver to the screw. This method is particularly useful for screws that are not too tightly embedded.
How to Use:
- Apply a small amount of strong adhesive (like superglue) to attach the stripped screw head.
- Press the tip of the screwdriver into the glued area, ensuring it sticks to the screw head.
- Wait a few minutes for the glue to set, then turn the screwdriver counterclockwise.
Why It Works: The glue will create a strong bond between the screwdriver and the screw, helping to lift and rotate the stripped screw.
3. Pliers
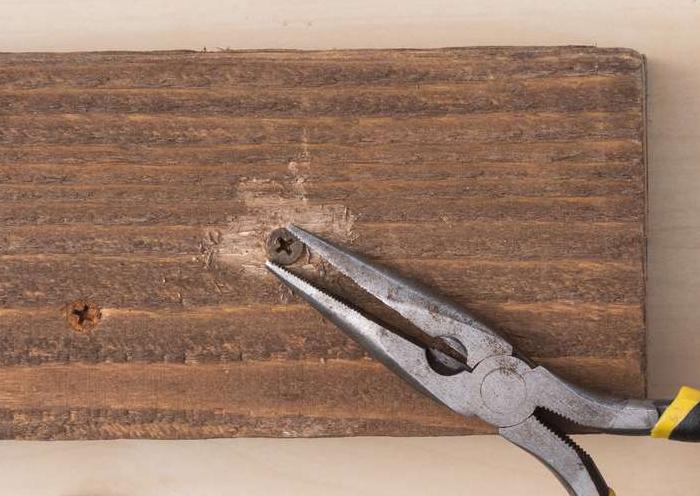
If part of the screw head is exposed, you can use pliers to grip and turn the screw. This method is particularly effective for screws that are only slightly stripped or for those with enough of their heads showing to secure a secure hold with the pliers.
How to Use:
- Grip the exposed part of the stripped screw with a pair of needle nose or locking pliers.
- Apply pressure and turn the pliers counterclockwise. Try to maintain steady, consistent force while turning.
Why It Works: The pliers provide a strong grip on the screw, allowing you to apply force directly, especially if the screw is slightly raised or sticking out.
4. Screwdriver
Sometimes, a simple change in approach is all you need. If the screw head is stripped but still somewhat intact, a different type of screwdriver or bit may help.
How to Use:
- Switch to a screwdriver with a larger or different bit, such as a flathead or a larger Phillips screwdriver.
- Press firmly into the screw and turn counterclockwise.
Why It Works: Using a different tool might fit better into the remaining grooves in the screw head, allowing you to get a better grip and rotate the screw.
5. Hammer
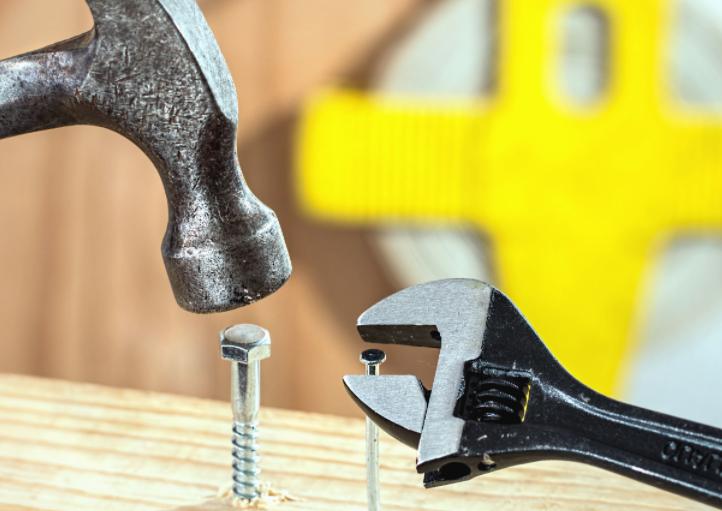
For stubborn screws that just won’t budge, using a hammer may help by creating more grip or force on the stripped screw.
How to Use:
- Place the tip of your screwdriver (or a special screw extractor) into the stripped screw head.
- Gently tap the end of the screwdriver’s handle with a hammer while turning it counterclockwise.
- This will help loosen the screw and may also “break” the bond between the screw and the material it’s threading into.
Why It Works: The hammer’s impact can help break up rust or corrosion that may be binding the screw and improve the tool’s contact with the screw.
6. Cut a Slot
If the screw head is severely stripped, cutting a new slot into the screw can give you a fresh surface to grip.
How to Use:
- Use a rotary tool (like a Dremel) or a hacksaw to carefully cut a straight slot across the top of the stripped screw.
- Once the slot is cut, use a flathead screwdriver to turn the screw.
Why It Works: By creating a new slot, you give the screwdriver a fresh area to grab onto, which makes it much easier to turn the screw.
7. Screw Extractor
A screw extractor is a specialized tool designed to remove stripped or damaged screws. It’s one of the most effective methods for stubborn screws.
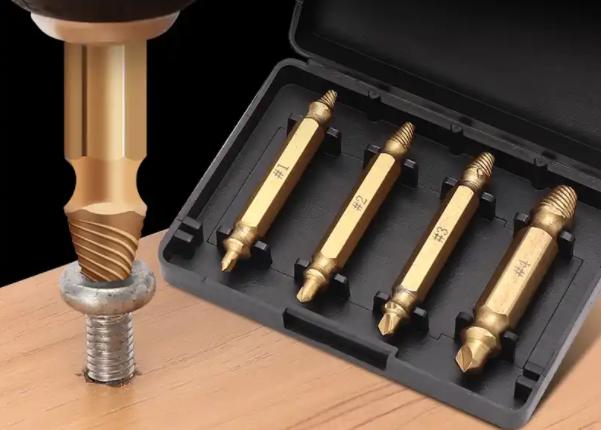
How to Use:
- Drill a small hole into the center of the stripped screw using a drill bit.
- Insert the screw extractor bit into the hole and turn it counterclockwise.
- The extractor’s reverse threads will grasp the screw and pull it out.
Why It Works: The screw extractor has left-handed threads that grip the screw as it turns counterclockwise, allowing it to easily be pulled out.
8. Use Penetrating Oil
If the stripped screw is also rusted or stuck, applying penetrating oil can help loosen it.
How to Use:
- Spray a generous amount of penetrating oil , such as WD-40 or PB Blaster, around the stripped screw.
- Let it sit for several minutes (or longer, depending on the severity of the rust)
- Try using any other methods (e.g., pliers, screwdriver, or extractor) to remove the screw.
Why It Works: Penetrating oil helps break down rust and corrosion, making the screw easier to remove.
Part 3. How to Prevent Stripped Screws?
Earlier, we analyzed the common causes of stripped screws. Next, we will provide a detailed explanation of how to prevent this issue through effective measures. By taking the right precautions, you can not only significantly reduce the risk of stripped screws but also enhance the assembly quality and extend the lifespan of your equipment.
Below are some tips you can try:
1. Choose the Right Tools
Using the correct screwdriver or power tool is the first step in preventing stripped screws. Ensure that the tool matches the shape and size of the screw. If the tool does not fit properly, it can cause excessive pressureand lead to stripping.
2. Correct Torque Application
When tightening screws, it’s important to use enough or too little torque. Overloading can damage the threads, causing stripping, while underloading may cause the screw to loosen. Using a torque wrench can ensure proper torque is applied.
3. Use High-Quality Screws
Choose screws made of high-quality materials, especially those with finely crafted threads. Low-quality screws are more likely to strip due to material issues. High-strength steel or stainless steel screws perform better in resisting stripping.
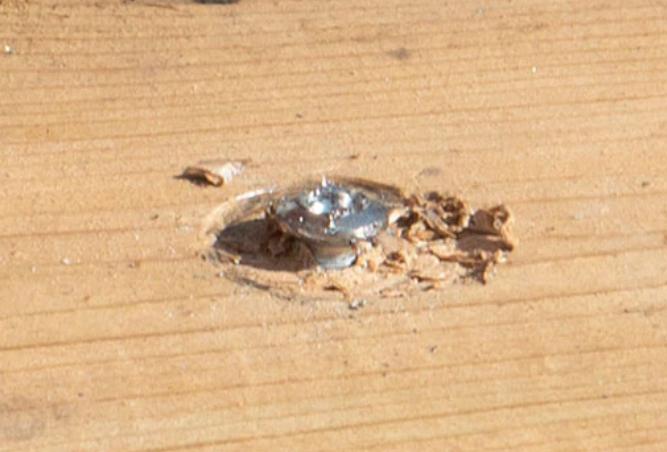
4. Pre-Drill Holes
When installing larger screws, pre-drill holes in the target location and adjust as needed. This helps the screw enter smoothly and reduces friction on the threads, reducing the risk of stripping.
5. Use Thread Locking Compound
Applying an appropriate thread-locking compound to the screw, it can prevent stripping while increasing its resistance to loosening. These compounds provide additional adhesion strength under pressure, reducing wear on the threads.
6. Regular Inspection and Maintenance
Regularly check the installed screws for any loosening or damage. This helps prevent thread stripping due to overuse. Replace damaged screws as needed.
7. Avoid Over-Tightening
Some people may over-tighten screws out of fear that they will loosen, but over-tightening accelerates thread wear, leading to stripping. Finding the right amount of force is crucial.
In Summary
Removing stripped screws is not an insurmountable problem. We’ve shared several effective methods to help you easily remove them. With these tips in hand, you can confidently handle any screw removal challenge and ensure your repair projects run smoothly and efficiently. Prevention is equally important as it can help minimize the risk of stripping screws in the first place.

