How to Use Rivet Nuts Effectively: A Comprehensive Step-by-step Guide
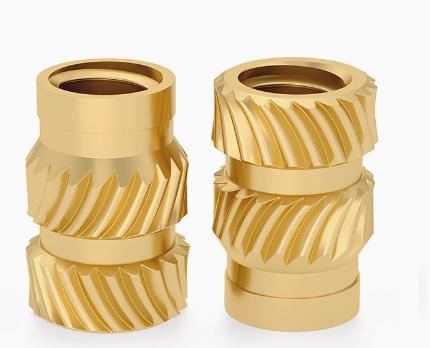
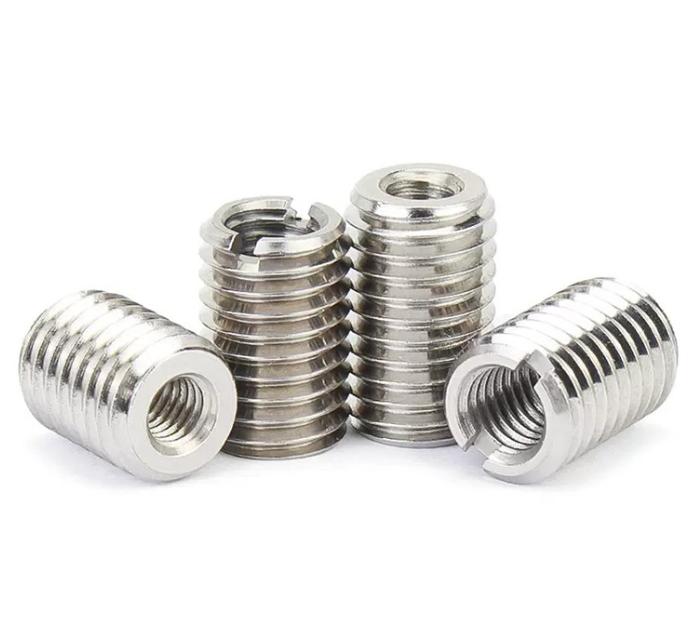
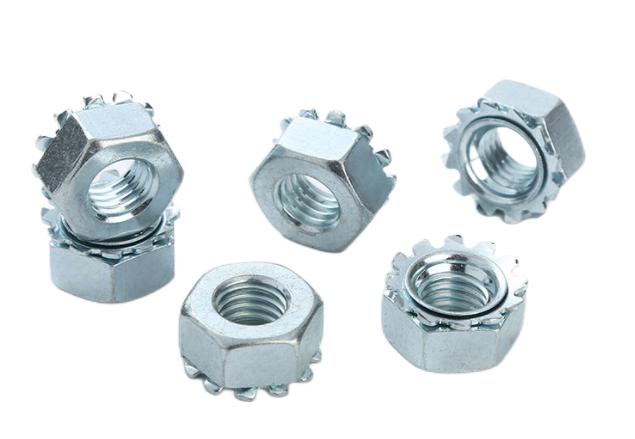
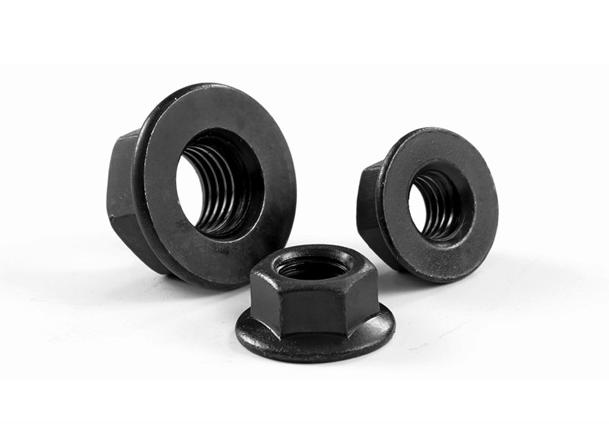
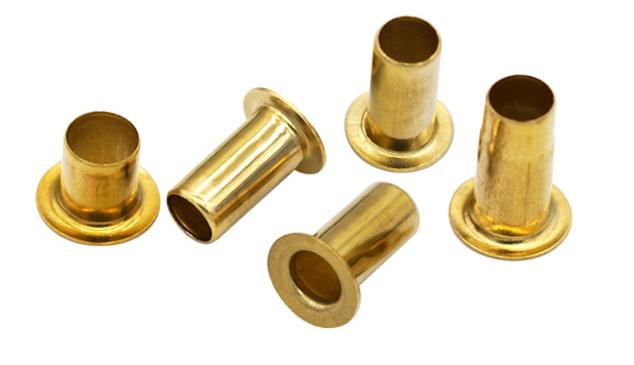
Rivet nuts, also known as threaded inserts or blind rivet nuts, are versatile fasteners used in various sectors. They are internal threaded hollow fasteners, including flanged rivet nuts and flat head rivet nuts. They are intended to be mounted from one side of a workpiece (thus the word “blind”) and offer a solid anchor point for bolts or screws. Whether you’re a DIY enthusiast or a professional tradesperson, understanding how to use rivet nuts can prove invaluable. In this comprehensive guide, we’ll walk you through the step-by-step method of efficiently using rivet nuts as well as the benefits of using rivet nuts.

Step-by-Step Guide on How to Use Rivet Nuts
- Tools and Materials You’ll Need
- Rivet Nuts: Select the right size, material, and thread type for your project.
- Rivet Nut Installation Tool: You can use a manual hand tool or a power tool built exclusively for installing rivet nuts.
- Drill: To create a hole in the material where you intend to install the rivet nut. The drill bit size should match the recommended hole size for the rivet nut.
- Wrench or Socket Set: Once installed, tighten the fastener into the rivet nut.
- Safety Gear: Wear safety glasses to protect your eyes from flying debris when drilling and installing.
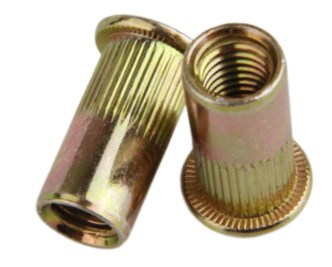
Step 1: Choose the Right Rivet Nut
Choose the right rivet nut for your project by considering aspects such as material, thread size, and estimated load. For more information, consult the manufacturer’s instructions.
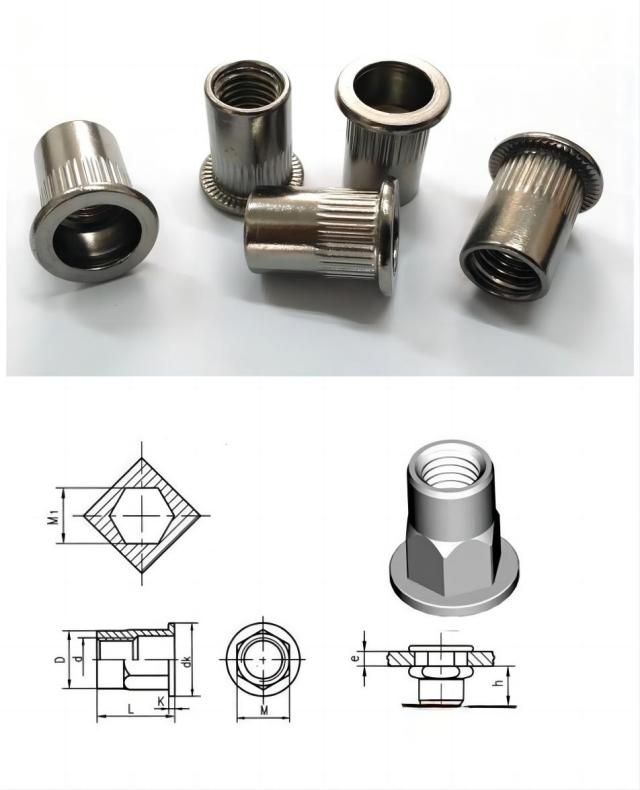
Step 2: Prepare Your Workpiece
Make a mark on the material where you want the rivet nut to go. Make sure the region is clean and clear of obstacles or burrs.
Step 3: Drill a Hole
Make a hole in the material at the designated position with your drill and the appropriate-sized drill bit. The hole size should match the recommended size for the rivet nut. Pay attention to the hole depth, which should allow the entire length of the rivet nut to fit.
Step 4: Insert the Rivet Nut
Insert the rivet nut into the newly drilled hole, making that the flanged or flat head is flush with the material’s surface.
Step 5: Use the Installation Tool
Thread a manual hand tool onto the rivet nut and insert the tool into the hole. Squeeze the handles together to collapse the body of the rivet nut. This movement causes the rivet nut to expand, fastening it firmly against the material.
Attach the proper mandrel and nosepiece to power equipment designed for rivet nut installation. Insert the tool into the rivet nut and turn it on, as directed by the manufacturer. The power tool will secure the rivet nut in the hole.

Step 6: Secure Your Fastener
The rivet nut now serves as a threaded anchor point for your bolt or screw when it has been correctly inserted. Tighten the fastener in the rivet nut with a wrench or socket set until it is snug against the material.
Step 7: Verify the Connection
Ascertain that the rivet nut and fastener are securely in place and provide the thread engagement required for your application. If additional tightening is required to obtain the desired amount of tightness, do so.
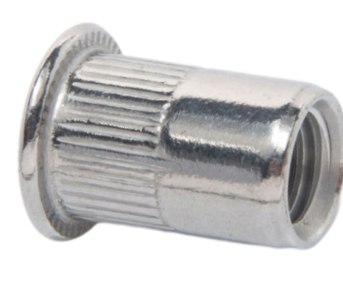
Benefits of Using Rivet Nuts
- Versatility: Rivet nuts are suitable for usage in a variety of materials, including metal, plastic, and composites.
- Strength: Even in thin or lightweight materials, rivet nuts provide strong and dependable threaded connections.
- Time Efficiency: Rivet nuts allow for fast and efficient installation, which saves you time on your projects.
- Accessibility: These fasteners can be utilized in places where typical threading methods are impracticable, such as tight or difficult-to-reach locations.
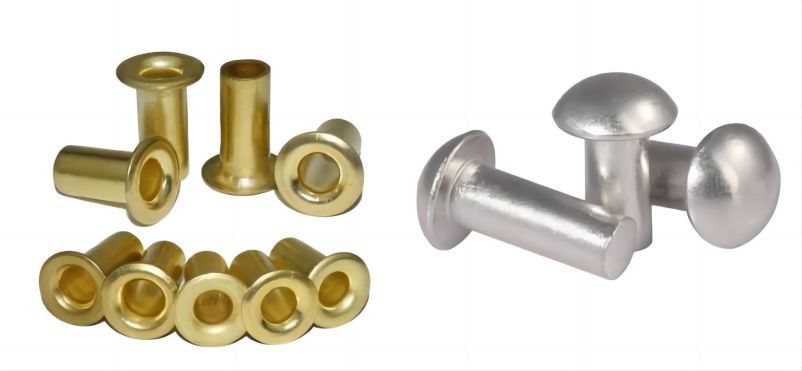
Conclusion
In conclusion, knowing how to use rivet nuts can broaden your fastening options and give strong, threaded connections in a variety of situations. By following these instructions of rivet nuts and taking the necessary safety precautions, you will be able to confidently using them into your projects.

