Installation Methods for Self-Tapping Screws with Washers
Self-tapping screws with washers are a popular choice in fastening systems across industries, from woodworking to metal fabrication and plastic assembly. Equipped with a washer, these screws offer added security, preventing loosening and protecting the materials’ surfaces. This article covers installation methods, tools needed, best practices, and tips for using self-tapping screws with washers in various materials.
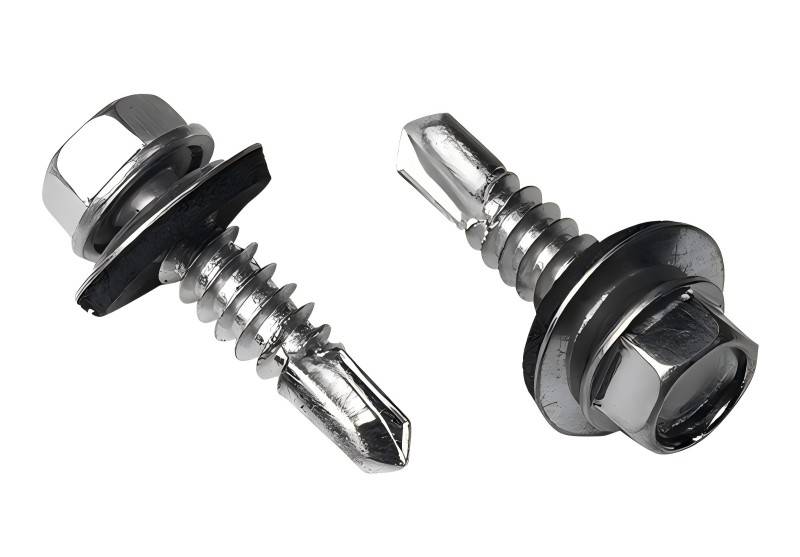
What are Self-Tapping Screws with Washers?
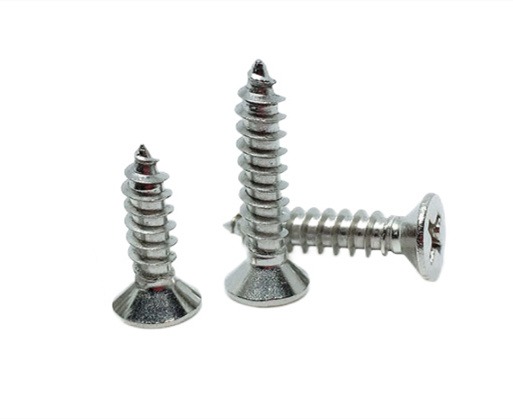
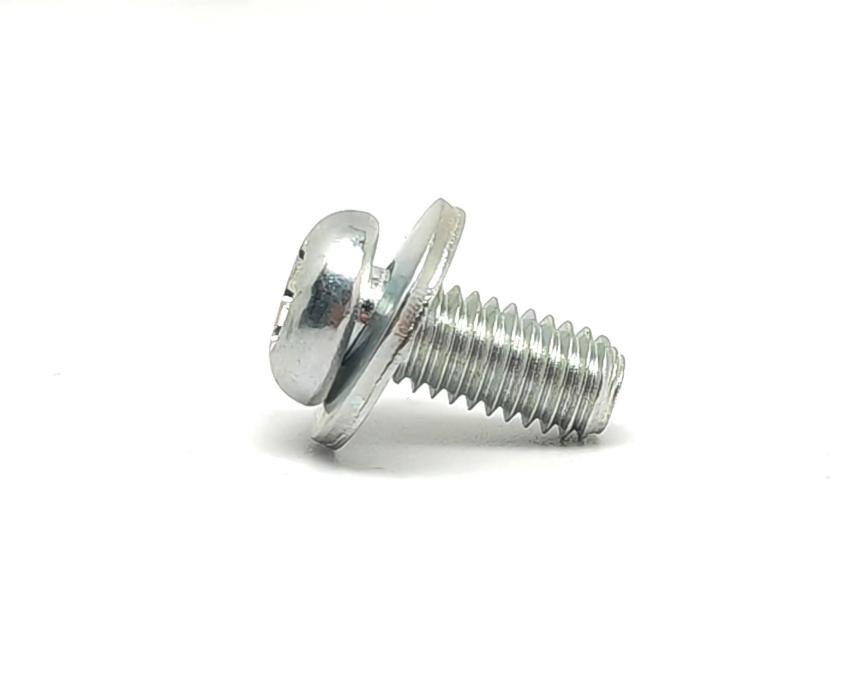
Self-tapping screws are unique in that they create their own thread as they’re driven into materials, eliminating the need for a pre-threaded hole. When paired with washers, these screws gain even more functional value: the washer expands the bearing surface area, distributes load more evenly, and reduces the likelihood of the screw loosening over time. This makes self-tapping screws with washers ideal for securing materials in situations where vibration, thermal expansion, or other environmental factors could cause fasteners to loosen.
Common Installation Methods of Self-Tapping Screws with Washers
Three main installation methods are widely used, each suited for different tools and specific situations:
- Manual Installation
- Power Tool Installation
- Installation with Specialized Tools
Each method offers advantages and is suitable for different material types and fastener requirements. Let’s delve into each installation method in detail.
1. Manual Installation
Manual installation is the most accessible and often preferred method for lightweight applications or situations where precision is essential. Here’s how to install self-tapping screws with washers manually:
Tools Needed:
- Screwdriver: Choose a Phillips or flathead screwdriver based on the screw’s head type.
- Wrench: A wrench is optional but recommended if the screw includes a nut that needs to be secured.
Steps for Manual Installation:
Step 1: Select the Appropriate Screwdriver
Ensure the screwdriver tip matches the screw head to avoid stripping the slot. A properly matched screwdriver helps prevent slippage and increases torque efficiency.
Step 2: Determine Installation Position
Select the exact position for installation, ensuring the screw’s length and diameter match the requirements of the material.
Step 3: Insert the Screw
Align the screw tip with the designated hole or starting point and begin rotating gently to establish initial threads.
Step 4: Tighten the Screw
Rotate the screwdriver clockwise until the screw is firmly tightened. The washer, if positioned correctly, should rest snugly under the screw head.
Step 5: Secure with Nut (if applicable)
If your setup includes a nut, use a wrench to fasten it, providing extra security for the connection.
Manual installation offers excellent control, making it ideal for delicate materials or situations where too much force could cause damage. However, it may not be the fastest option for bulk installations or harder materials.
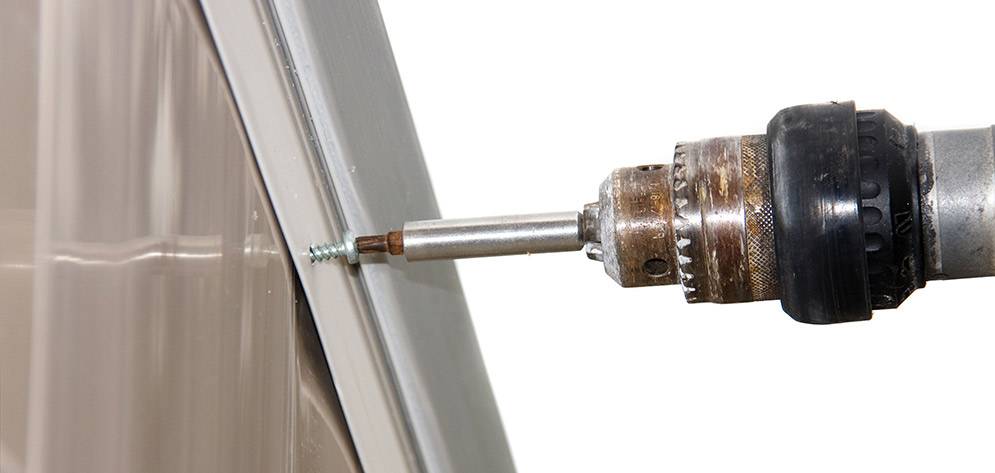
2. Power Tool Installation
Using a power tool for installation can significantly speed up the process, especially for repetitive tasks or harder materials. Electric screwdrivers and power drills make it possible to apply a consistent amount of force, resulting in faster, more efficient installations.
Tools Needed:
- Electric Screwdriver or Power Drill: Choose a power tool based on the requirements of the job. For lighter screws, an electric screwdriver suffices, while a power drill offers higher torque for tougher materials.
Steps for Power Tool Installation:
Step 1: Choose the Right Drill Bit
Select a drill bit compatible with the screw’s diameter to prevent unnecessary wear on the fastener or material.
Step 2: Pre-drill (if necessary)
For particularly dense or hard materials, pre-drilling can help reduce the torque required, protecting both the screw and the material from damage.
Step 3: Install the Screw
Position the screw into the power tool’s chuck and align it with the hole. Press the tool’s trigger to engage the screw, taking care to maintain a steady and consistent speed.
Power tool installation is ideal for large-scale applications or when working with denser materials where manual effort might be insufficient.
3. Installation with Specialized Tools
For high-precision requirements or heavy-duty applications, specialized tools such as screwdriver sockets and torque wrenches are essential. These tools ensure consistent force and precision, crucial for mechanical and industrial installations.
Tools Needed:
- Screwdriver Socket: Choose a socket that matches the head shape of the screw.
- Torque Wrench: A torque wrench allows you to control the exact amount of force applied to the screw, preventing over-tightening.
Steps for Installation with Specialized Tools:
Step 1: Select the Appropriate Socket
Fit the screwdriver socket to the screw head, ensuring a snug fit.
Step 2: Attach the Socket to the Screw
Position the socket over the screw head, ensuring full contact.
Step 3: Use a Torque Wrench
Adjust the torque wrench to the specified torque setting and begin tightening. This ensures a secure connection without over-stressing the screw or washer.
This method is highly effective for installations that require adherence to strict safety or quality standards, providing reliable and secure connections.
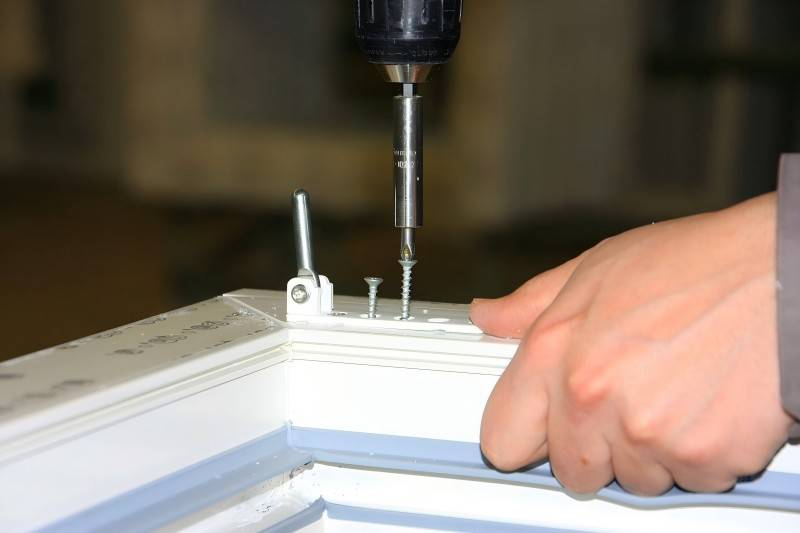
Important Considerations for Successful Installation
- Pre-Drilling: For hard materials like metal, pre-drilling helps prevent the screw from stripping or damaging the material.
- Washer Placement: Typically, washers should be positioned under the screw head to help distribute force evenly. This setup not only strengthens the connection but also protects the material surface from damage.
- Tightening Torque: Over-tightening can damage both the screw and the material, while under-tightening may lead to a loose connection. A torque wrench can be particularly useful to ensure the correct force.
- Material Compatibility: Select screws and washers that match the material of the connection points. For example, stainless steel screws are ideal for metal materials, while softer materials may require more flexible screws to avoid damage.
- Rust Prevention: If the installation will be exposed to humid or corrosive environments, opt for screws and washers with anti-rust coatings, such as zinc or stainless steel coatings.
Tips for Installing in Different Materials
Different materials require specific techniques for effective installation of self-tapping screws:
- Wood: Generally, self-tapping screws can be directly inserted into wood without pre-drilling, as wood provides enough resistance to create a strong hold.
- Metal: Pre-drilling is essential when working with metal, and the hole diameter should be slightly smaller than the screw diameter to ensure a secure fit.
- Plastic: Plastics can crack or become misshapen if too much force is applied. When drilling, use gentle pressure and avoid over-tightening.
Final Thoughts
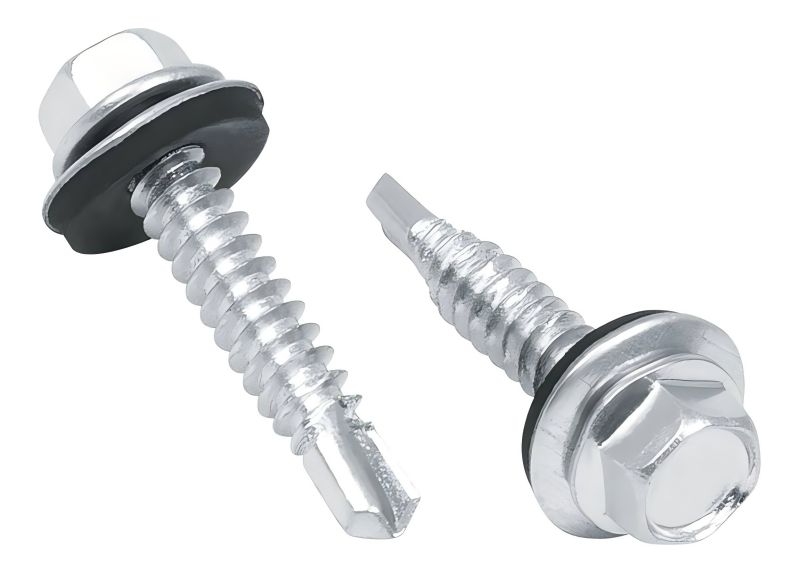
Self-tapping screws with washers provide reliable fastening solutions for many types of materials, from wood and metal to plastic. By following these installation methods and best practices, you can ensure a secure, long-lasting connection tailored to your specific needs. Whether you’re handling a small DIY project or a large industrial application, understanding these methods equips you with the knowledge to select and install the right screws and washers effectively.

