Strength Classes and Mechanical Properties of Commonly Used Fasteners
Strength Classes (performance Classes) of Bolts, Screws, and Studs
The national standard stipulates 10 grades, marked as 3.6 4.6 4.8 5.6 5.8 6.8 8.8 9.8 10.9 12.9.
The above performance grades are applicable to coarse teeth M1.6~M39; fine teeth M8×1~M39×3. The purpose is to indicate the mechanical properties of the fastener.
Meaning of Performance Class:
The number before the “.” in the mark represents the nominal tensile strength, expressed in 1/100 (for example the performance level is 8.8: then the number in front of 8 means that the tensile strength σb is 800N/mm2).
The number after “.” in the mark indicates the yield strength ratio. That is, the ratio of the nominal yield point σs or the non-proportional elongation stress σp0.2 to the nominal tensile strength σb. The multiplication of the two numbers is the yield strength.
Physical Meaning of Yield Ratio:
Indicates how close σs or σp0.2 is to σb. The size of the yield ratio indicates the degree of strengthening of the steel, and also reflects the degree of strengthening of the fastener during processing.
(For example, a bolt with a performance grade of 3.6 has a yield ratio of 0.6, indicating that it has not been strengthened during processing. A yield ratio of 0.8 or 0.9 indicates that the fastener product has been strengthened during processing). The higher the yield-strength ratio, the greater the degree of strengthening.
Applicable Materials and Heat Treatment Requirements for Each Performance Level
- Because the strength class (performance class) of bolts, screws, and studs has a lot to do with the steel used. For products above grade 8.8 (including grade 8.8), heat treatment must be carried out to meet the performance requirements.
- Properties class 3.6 can be produced from mild steel.
- Performance grades of 4.6; 4.8; 5.6; 5.8; 6.8 can be produced from low-carbon steel or medium-carbon steel. But it must be noted that the yield-strength ratio of 0.8 must be achieved by cold work hardening. If grade 5.6 is produced with medium carbon steel, it must be treated by eliminating cold work hardening.
The national standard also stipulates
1. For products of grade 8.8, in order to ensure good hardenability, the alloy steel specified in grade 10.9 must be used for bolts, screws, and studs with thread diameter > 20mm.
2. For performance classes 10.9 and 12.9, materials with good hardenability should be used to ensure that the core of the thread section obtains about 90% martensitic structure after quenching and before tempering.
Mechanical properties of bolts, screws and studs
| Performance | Performance item |
| Strength indicator | 1). Tensile strength σb: The value obtained by dividing the tensile load at test breakage by the stress area of the thread. All performance grades specify the nominal value of tensile strength σb. 2). Yield point σs: When the tensile test reaches the yield point, the force does not increase, and the deformation is still increasing, and the stress at this time is the yield point σs. [Nominal yield point and minimum yield point are specified below grade 6.8 (including grade 6.8)]. 3). Non-proportional elongation stress σp0.2: the stress when the specimen exhibits 0.2% residual deformation during stretching. [Nominal σp0.2 and minimum σp0.2 values are specified above grade 8.8 (including 8.8)]. 4). Guaranteed stress: On the tensile testing machine, apply the specified load (guaranteed load) and keep it for 15 seconds. Compared with before the test, the elongation shall not exceed 12.5um, and the specified guaranteed stress is about 90% of the yield point stress. [Products of all performance classes have different requirements]. |
| Hardness index | Adopt HB, HR, HV; [HRB is used below grade 6.8 (including grade 6.8); HRC is used above grade 8.8 (including grade 8.8)]; When there was a dispute, HV0.3 was used as the arbitration trial. The hardness corresponds to the tensile strength within a certain range, and the hardness test is suitable for short or small bolts that are difficult to test on a tensile testing machine. |
| Plasticity and toughness index | 1). Elongation after fracture: Turn the bolt to a cylindrical column smaller than the minor diameter; the gauge length is 5 times the diameter. During the test, break it, measure the length before and after the test, and calculate the elongation after fracture according to the formula. 2). Section shrinkage rate: the difference between the original cross-sectional area of the sample minus the fracture area after breaking, and then divide the percentage of the original cross-sectional area. 3). Wedge load: Use a 4°, 6°, or 10° wedge iron placed on the bolt-bearing surface on the tensile testing machine for tension, and load until it breaks. However, the break shall not be at the joint of the head and rod. It is not necessary to do the head firmness test after the wedge load test. 4). Impact absorption energy: It is of great significance to low-temperature operating machinery, mainly to prevent it from becoming brittle at low temperatures and causing fracture. (Only perform this test on products with thread diameter ≥ 16). [Below level 6.8, only the minimum impact absorption energy of level 5.6 is examined, and the minimum impact absorption energy of level 8.8 and above is specified according to different levels]. |
| head firmness | Insert the bolt into the test hole inclined at 60° or 80°, hammer the head to the level, and check whether there is any crack at the joint of the head and the rod. [Performance class: 60° for 3.6, 4.6, 5.6, 80° for performance class: 4.8, 5.8, 6.8, 8.8, 9.8, 10.9, 12.9]. |
| Decarburization layer experiment | The decarburization layer is divided into two types: full decarburization layer and semi-decarburization layer. Fastener decarburization only examines the threaded portion. [No requirement for products below grade 6.8, minimum height of grade 8.8 ~ grade 9.8 non-decarburized layer E=1/2H1, grade 10.9 minimum height of non-decarburized layer E=2/3H1, grade 12.9 minimum height of non-decarburized layer E= 3/4H1; The maximum depth G of the fully decarburized layer above grade 8.8 is 0.015mm]. |
| Minimum tempering temperature | The purpose of the retempering test is to check the adequacy of tempering and the correctness of the steel used. Retempering is a test item for bolts, screws and studs with a property class of 8.8 and above. experiment method: Take three points on the test piece to measure the HV30 hardness and take the average value. The specimen is then re-tempered at a temperature 10°C lower than the specified minimum tempering temperature. Keep warm for 30 minutes. After tempering, the HV30 hardness was measured again. Note: Consistency of specimen numbering before and after tempering. In the test on the same specimen, the difference between the average hardness of the three points before and after tempering shall not exceed 20 Vickers hardness values. |
| performance class | Materials and Heat Treatment | Minimum tempering temperature | performance class | Materials and Heat Treatment | Minimum tempering temperature |
| 8.8 | Low carbon alloy steel (eg boron, manganese, chromium) quenched and tempered | 425 | 10.9 | Low carbon alloy steel (eg boron, manganese, chromium) quenched and tempered | 340 |
| Medium carbon steel, quenched and tempered | 450 | 10.9 | Medium carbon steel, quenched and tempered or low, medium carbon alloy steel (such as boron, manganese, chromium), quenched and tempered or alloy steel, quenched and tempered | 425 | |
| 9.8 | Low carbon alloy steel (eg boron, manganese, chromium) quenched and tempered | 410 | 12.9 | Alloy steel quenched and tempered | 380 |
| Medium carbon steel, quenched and tempered | 410 |
Notice:
1. Class 9.8 is only applicable to thread diameter d≤16mm.
2. Minimum tensile strength applies to products with nominal length L≥2.5d; minimum hardness applies to length L<2.5 and other products that cannot be subjected to tensile tests (such as the effect of head structure).
3. When carrying out the wedge load test on the real bolts, screws and studs, the test load shall be calculated according to σbmin.
4. The surface hardness should not be more than 30 Vickers hardness values higher than the core hardness. The surface hardness of grade 10.9 shall not be greater than 390HV.
Strength Class of the Nut
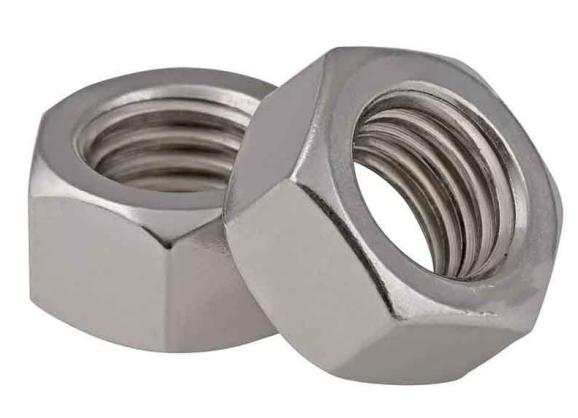
1. Strength mark for nut nominal height ≥ 0.8D:
Internationally, nuts with nominal height ≥ 0.8D(effective length of thread ≥ 0.6D) shall be marked with the first part number of the bolt property class marking. (The bolt should be of the highest performance grade that can be matched with the nut), marked with seven strength grades of 4, 5, 6, 8, 9, 10, and 12.
a) Provision: Nuts of higher performance class can substitute for nuts of lower performance class.
b) Design idea: It is hoped that the failure mode of the threaded assembly is screw breakage rather than nut or bolt thread tripping or simultaneous tripping. Because during the working process, the screw breakage facilitates the timely detection of the failure of the screw assembly.
c) The difference between type I and type II nuts.
- The height of type II nut is about 10% higher than that of type I nut.
- Type I is suitable for 4, 5, 6, 8, 10, and 12 grades of ≤M16.
- Type II is mainly suitable for grades 9 and 12.
- Type I nuts should be quenched and tempered. (Nuts of grade 12≤M16, when reaching the same guaranteed load, type II has lower hardness and better toughness than type I nuts).
See the table below for nut types and performance grades:
| Matching bolts, screws and studs | Nut Type I | Nut Type II | |||
| Nut performance class | performance class | Thread specification range mm | Thread specification range mm | ||
| Coarse Nuts | 4 | 3.6、4.6、4.8 | >16 | >16 | – |
| 5 | 3.6、4.6、4.8 | ≤16 | ≤39 | – | |
| 5.6、5.8 | ≤39 | ||||
| 6 | 6.8 | ≤39 | ≤39 | – | |
| 8 | 8.8 | ≤39 | ≤39 | >16,≤39 | |
| 9 | 9.8 | ≤16 | – | ≤16 | |
| 10 | 10.9 | ≤39 | ≤39 | – | |
| 12 | 12.9 | ≤39 | ≤16 | ≤39 |
2. Nominal height ≥0.5D and <0.8D nut height marking:
These nuts are marked as 04, 05 second gear. Wherein the numbers 4 and 5 respectively represent 1/100 (N/mm2) of the guaranteed stress of the nut measured by the hardened mandrel
A “0” indicates that the actual load-carrying capacity of this threaded assembly is lower than that indicated by the marked number.
The nominal and actual guaranteed load stress are shown in the following table:
| Strength properties of nuts | Nominal guaranteed load stress N/mm² | Actual guaranteed load stress N/mm² |
| 04 | 400 | 380 |
| 05 | 500 | 500 |
The effective load-carrying capacity of this type of nut is related to the matching bolt strength. When mated with lower-performance grade bolts, the failure of threaded assemblies is mainly bolt thread disengagement. When matched with high-performance grade bolts, the failure of threaded assemblies is mainly nut thread release, which should be paid attention to in the design.
3. Indication of the strength class of fine pitch nuts:
There are only 7 national standards, namely: 04, 05, 5, 6, 8, 10, and 12.
| Matching bolts, screws and studs | Nut Type I | Nut Type II | |||
| Nut performance class | performance class | Thread specification range mm | Thread specification range mm | ||
| fine thread nut | 5 | 3.6、4.6、4.8、5.6、5.8 | ≤39 | ≤39 | – |
| 6 | 6.8 | ≤39 | ≤39 | – | |
| 8 | 8.8 | ≤39 | ≤39 | ≤16 | |
| 10 | 10.9 | ≤39 | ≤16 | ≤39 | |
| 12 | 12.9 | ≤16 | – | ≤16 |
Mechanical Properties of the Nut
There are two main mechanical properties of nuts:
1. Guaranteed stress: The guaranteed load test is an arbitration test for nuts ≥ M5. The tensile test shall prevail during arbitration, and the guaranteed stress for nuts of grades 4 to 12 is higher than the nominal value. It is shown that even under the most unfavorable physical conditions, the failure load is more than 10% higher than that of the bolt, so that the failure mode of the threaded assembly is always the screw fracture.
2. Hardness: Routine inspection (after removal of electroplating or other coatings and proper processing).
Mechanical Properties and Working Properties of Self-tapping Screws
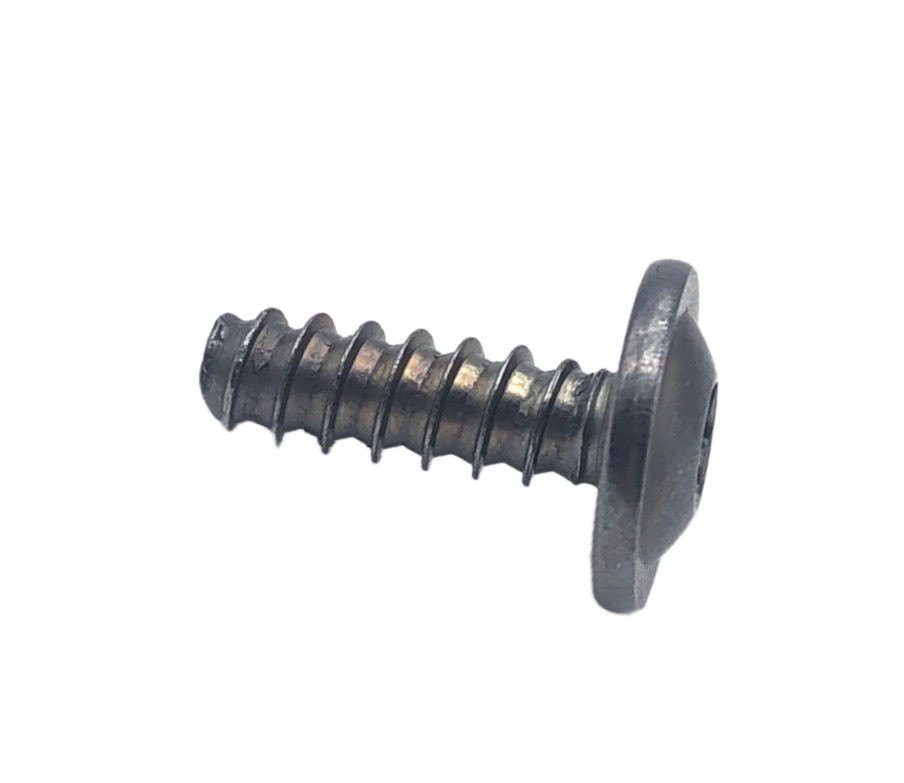
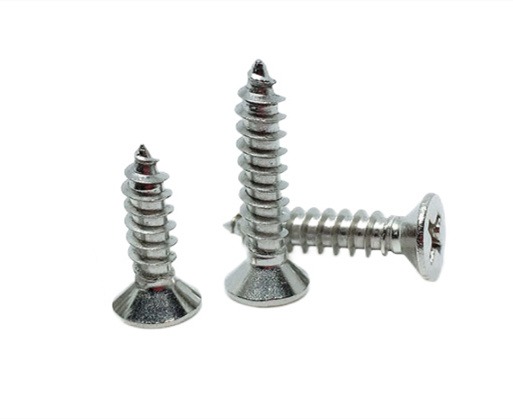
Self-tapping screws do not distinguish performance grades, nor do they have performance grade marks, which are directly represented by product specifications. Its mechanical properties and working properties are shown in the following table:
| Specification | ST2.2 | ST2.6 | ST2.9 | ST3.3 | ST3.5 | ST3.9 | ST4.2 | ST4.8 | ST5.5 | ST6.3 | ST8 | |
| Thread major diameter (max) mm | 2.24 | 2.57 | 2.9 | 3.3 | 3.53 | 3.91 | 4.22 | 4.8 | 5.46 | 6.25 | 8 | |
| Breaking moment (min) (N.m) | 0.45 | 0.9 | 1.5 | 2 | 2.7 | 3.4 | 4.4 | 6.3 | 10 | 13.6 | 30.5 | |
| Carburized layer depth | min | 0.04 | 0.05 | 0.1 | 0.15 | |||||||
| max | 0.1 | 0.18 | 0.23 | 0.28 | ||||||||
| Surface hardness≥ | 450HV0.3 | |||||||||||
| Core hardness | 270-390HV5 | 270-390HV10 | ||||||||||
| Plate thickness | min | 1.17 | 1.85 | 3.1 | 4.67 | |||||||
| max | 1.3 | 2.06 | 8.23 | 5.05 | ||||||||
| Aperture | min | 1.905 | 2.185 | 2.415 | 2.68 | 2.92 | 3.24 | 3.43 | 4.015 | 4.735 | 5.475 | 6.885 |
| max | 1.955 | 2.235 | 2.465 | 2.73 | 2.97 | 3.29 | 3.48 | 4.065 | 4.785 | 5.525 | 6.935 |
Property Classes and Mechanical Properties of Stainless Steel Bolts, Screws, and Studs
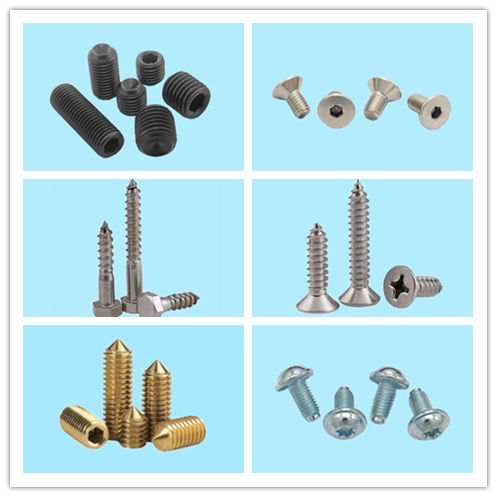
Property Grades of Stainless Steel Bolts, Screws, and Studs:
Marking: It consists of two parts: material group and performance level.
The first part of the mark consists of letters and a number, the letters indicate the stainless steel category, and the numbers indicate the chemical composition range of this type of steel: (A is austenitic stainless steel, C is martensitic stainless steel, and F is ferritic stainless steel).
The second part marks the performance class and consists of numbers. Its value is 1/10 of the tensile strength.
Such as A2-70 means: austenitic stainless steel and the minimum tensile strength is 700Mpa.
C4-70 means martensitic stainless steel, and the minimum tensile strength is 700Mpa.
Among them: The numbers 2 and 4 in A2 and C4 indicate the chemical composition range of the steel.
Mechanical Properties of Stainless Steel Bolts, Screws, and Studs
(1) Mechanical properties of austenitic stainless steel
| category | group | performance class | Thread diameter | Tensile Strengthmin N/mm² | Specified non-proportional elongation stress min N/mm² | Elongation after breaking Smin mm |
| Austenite | A1、A2、A3、A4、A5 | 50 | M39 | 500 | 210 | 0.6d |
| 70 | M24 | 700 | 450 | 0.4d | ||
| 80 | M24 | 800 | 600 | 0.3d |
NOTE: Elongation at break should be measured on fasteners with a length equal to or greater than 2.5d.
S=L2-L1. Where: L2 = original length of bolts, screws, and studs. L1 = the length of the pull-fault after tight anastomosis.
(2) Mechanical properties of martensitic and ferritic stainless steel fasteners
| category | group | performance class | Tensile Strengthmin N/mm² | Specified non-proportional elongation stress min N/mm² | Elongation after breaking Smin mm | hardness | ||
| HB | HRC | HV | ||||||
| martensite | C1 | 50 | 500 | 250 | 0.2d | 147-209 | – | 155-220 |
| 70 | 700 | 410 | 0.2d | 209-314 | 20-34 | 220-330 | ||
| 110 | 1100 | 820 | 0.2d | – | 36-45 | 350-440 | ||
| C3 | 80 | 800 | 640 | 0.2d | 228-323 | 21-35 | 240-340 | |
| C4 | 50 | 500 | 250 | 0.2d | 147-209 | – | 155-220 | |
| 70 | 700 | 410 | 0.2d | 209-314 | 20-34 | 220-330 | ||
| Ferrite | F1 | 45 | 450 | 250 | 0.2d | 128-209 | – | 135-220 |
| 60 | 600 | 410 | 0.2d | 171-271 | – | 180-285 |
(3) Destruction torque of austenitic stainless steel bolts and screws
| Thread specification | Minimum breaking moment/(N.m)(mm) | Thread specification | breaking moment/(N.m) | ||||
| performance class | performance class | ||||||
| 50 | 70 | 80 | 50 | 70 | 80 | ||
| M1.6 | 0.15 | 0.2 | 0.24 | M6 | 9.3 | 13 | 15 |
| M2 | 0.3 | 0.4 | 0.48 | M8 | 23 | 32 | 37 |
| M2.5 | 0.6 | 0.9 | 0.96 | M10 | 46 | 65 | 74 |
| M3 | 1.1 | 1.6 | 1.8 | M12 | 80 | 110 | 130 |
| M4 | 2.7 | 3.8 | 4.3 | M16 | 210 | 290 | 330 |
| M5 | 5.5 | 7.8 | 8.8 |
Note: The breaking torque of martensitic and ferritic stainless steel fasteners is agreed upon between the supplier and the buyer.
Performance Class, Mechanical Properties of Stainless Steel Nuts
Material Groups and Property grades
(1) Property grades
For nut thickness M ≥ 0.8D, the property class consists of 2 numbers representing 1/10 of the guaranteed load.
For thin nuts with a nut thickness of 0.5D≤M<0.8D, it consists of three digits, the first digit is 0, which means the nut with reduced bearing capacity, and the last two digits represent 1/10 of the guaranteed load.
(2) Material group
The first part of the mark consists of letters and a number. Letters indicate the type of stainless steel, and numbers indicate the chemical composition range of this type of steel: (A is austenitic stainless steel, C is martensitic stainless steel, and F is ferritic stainless steel).
The second part marks the performance class, consisting of numbers, the value of which is 1/10 of the guaranteed load.
Conclusion
KENENG can manufacture a variety of fasteners including screws, bolts, nuts, etc., and ensure excellent product quality. If you want to buy fastener products in large quantities, please contact us.

