The Crucial Role of Precision in CNC Machining
CNC machining, short for Computer Numerical Control machining, has become an indispensable technology in modern manufacturing. It allows for the creation of complex and intricate parts with a high degree of accuracy and repeatability. One of the most critical aspects of CNC machining is precision, which directly impacts the dimensional accuracy and overall quality of the finished workpiece. This article dives deep into the concept of precision in CNC machining, explores the factors that influence it, and examines the achievable precision levels of various common CNC machining processes.
Understanding Precision in CNC Machining
Precision, in the context of CNC machining, refers to the exactness with which a workpiece’s dimensions are achieved. It signifies how closely the final measurements of the part conform to the specifications outlined in the Computer-Aided Design (CAD) model. Deviations from the intended dimensions can significantly affect the functionality, performance, and interchangeability of the machined component.
A crucial concept intertwined with precision is tolerance. Tolerance defines the permissible range of variation for a specific dimension. It essentially establishes the acceptable amount of deviation from the nominal size specified in the design. Tighter tolerances, indicating smaller allowable variations, translate to higher precision requirements. Conversely, looser tolerances allow for a greater degree of dimensional variation, resulting in a lower level of precision.
The International Organization for Standardization (ISO) has established a standardized system for specifying tolerances in technical drawings. This system utilizes a series of tolerance grades designated as IT01 through IT18. IT01 represents the tightest tolerance grade, demanding the highest level of precision. As the grade number increases (IT02, IT03, and so on), the allowable tolerance range widens, signifying a decrease in the required precision.
Precision Levels of Common CNC Machining Forms
CNC machining encompasses a diverse range of processes, each with its own inherent capabilities and limitations regarding achievable precision. Here’s a closer look at the precision levels typically associated with some of the most widely used CNC machining methods:
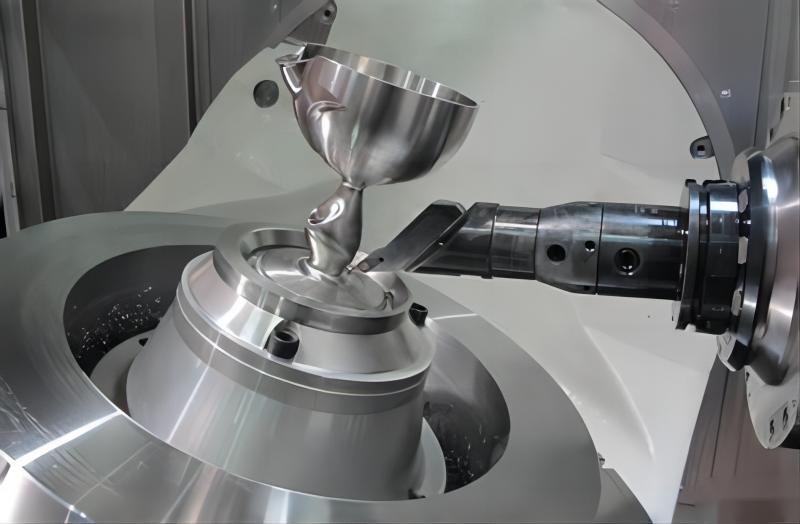
1. Turning
Turning, often performed on a lathe, involves the use of a rotating cutting tool to shape the external and internal cylindrical surfaces, end faces, conical surfaces, and even specific types of threads on a workpiece. Turning operations generally achieve a precision level within the range of IT8 to IT7. The resulting surface roughness, which refers to the microscopic irregularities on the machined surface, typically falls between 1.6 and 0.8 micrometers (µm).
Turning can be further categorized into rough turning, semi-finish turning, and finish turning. Each stage progressively refines the workpiece’s dimensions and surface finish. Rough turning removes substantial material quickly, prioritizing material removal rate over precision. Conversely, semi-finish turning and finish turning to prioritize tighter tolerances and smoother surface finishes, respectively.
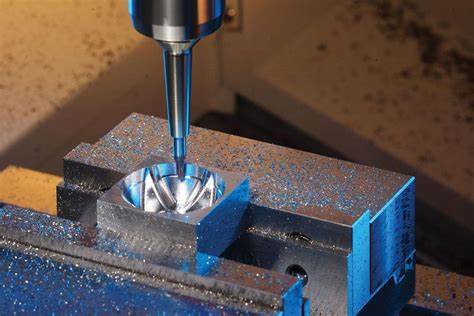
2. Milling
Milling utilizes a multi-tooth rotary cutting tool to remove material from a workpiece, creating flat surfaces, grooves, various contoured features (such as keyways, gears, and threads), and more. Milling processes typically achieve a precision level of IT8 to IT7, similar to turning. The surface roughness generated by milling operations can range from 6.3 to 1.6 µm.
Similar to turning, milling can be divided into rough milling, semi-finish milling, and finish milling. Rough milling focuses on rapid material removal, while semi-finish milling and finish milling progressively improve dimensional accuracy and surface finish.
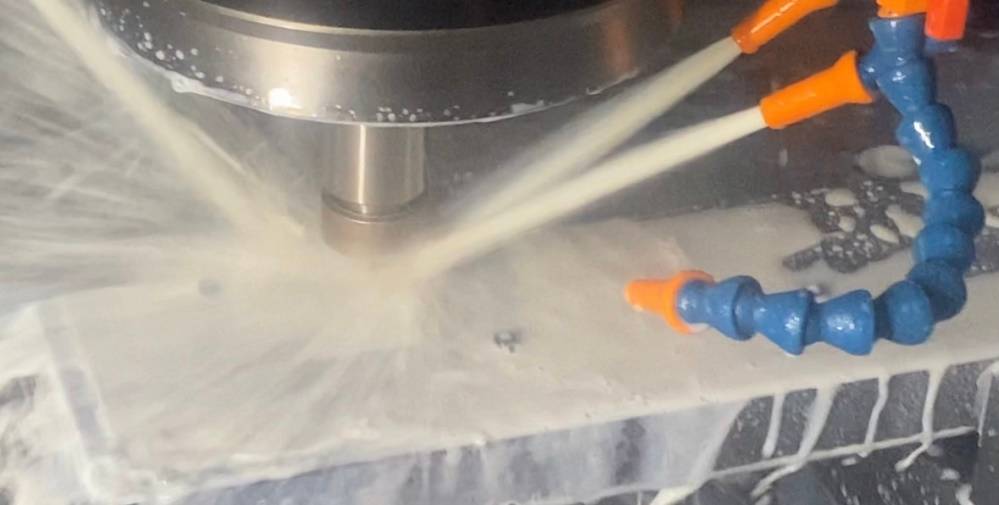
3. Planing
Planing involves a reciprocating cutting tool that travels back and forth across the surface of a workpiece, primarily used for shaping its external features. Planing operations typically achieve a precision level of IT9 to IT7. The resulting surface roughness can range from Ra 6.3 µm (Ra denotes the arithmetic average deviation of the surface profile) to 1.6 µm.
Planing can also be categorized into rough planing, semi-finish planing, and finish planing. Each stage progressively refines the workpiece’s dimensional accuracy and surface finish.
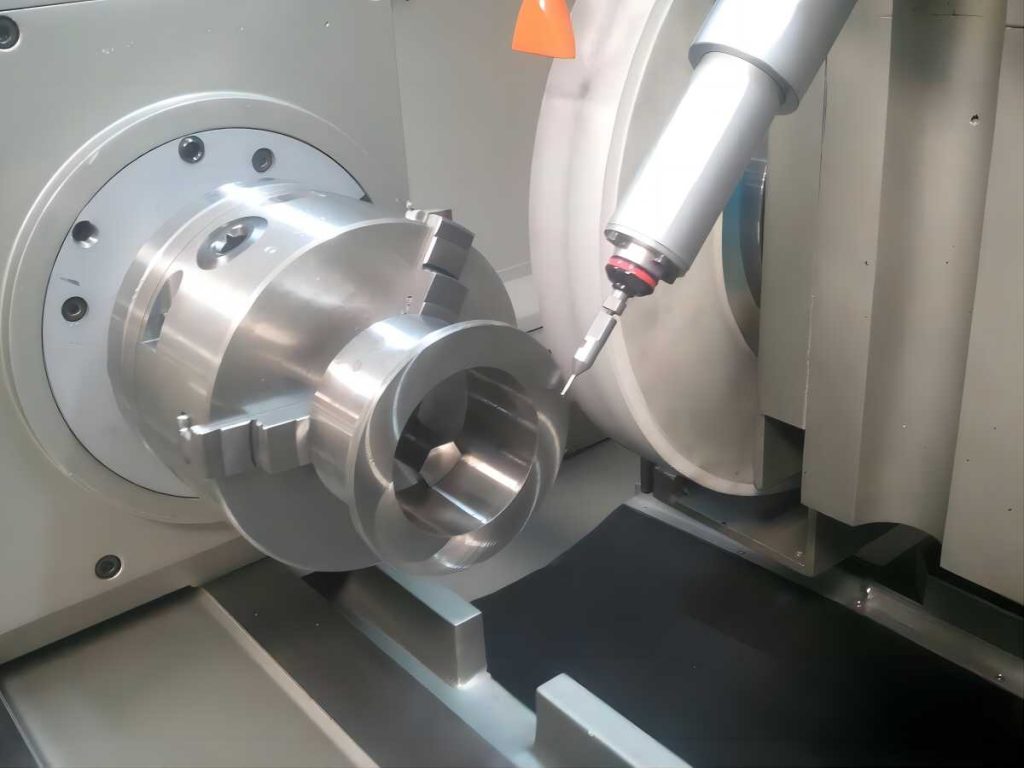
4. Grinding
Grinding is a finishing process that employs an abrasive wheel to remove minute amounts of material, achieving exceptionally high precision and fine surface finishes. Grinding processes can achieve a precision level of IT8 to IT5, or even higher in some cases. The surface roughness achievable through grinding can range from 1.25 to 0.16 µm.
Grinding can be further categorized into precision grinding, super-precision grinding, and mirror grinding. Precision grinding delivers high accuracy, while super-precision grinding and mirror grinding progressively achieve even tighter tolerances and exceptionally smooth surface finishes.
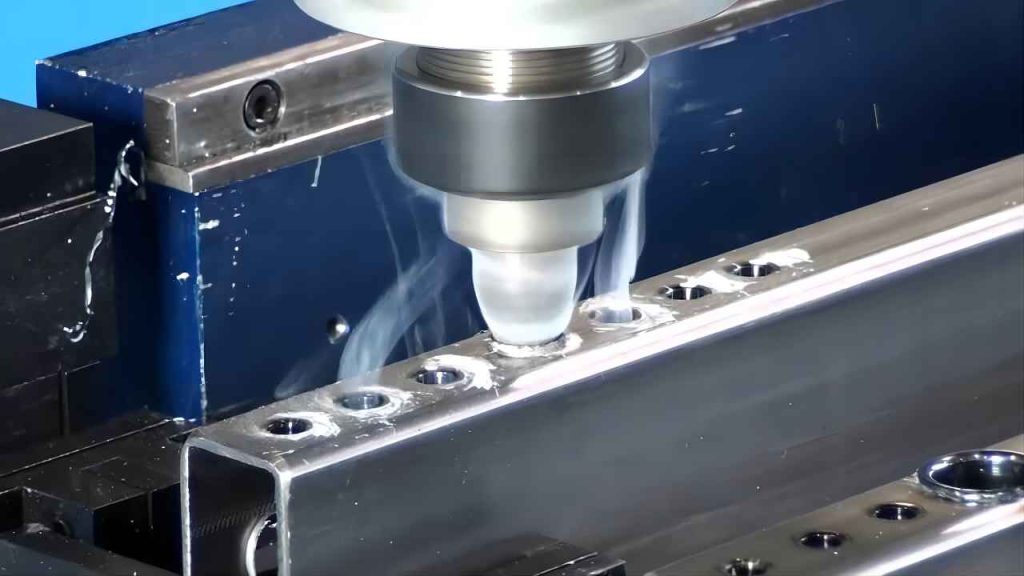
5. Drilling
Drilling is a fundamental hole-making process that utilizes a rotating and pointed cutting tool to create cylindrical holes in a workpiece. Drilling has inherent limitations in terms of achievable precision due to factors like tool deflection and inherent tool geometry. Drilling operations typically achieve a precision level of IT10. The resulting surface roughness of drilling operations typically falls between 12.5 and 6.3 µm. Due to these limitations, drilling is often followed by reaming and boring to achieve tighter tolerances and improved surface finishes.
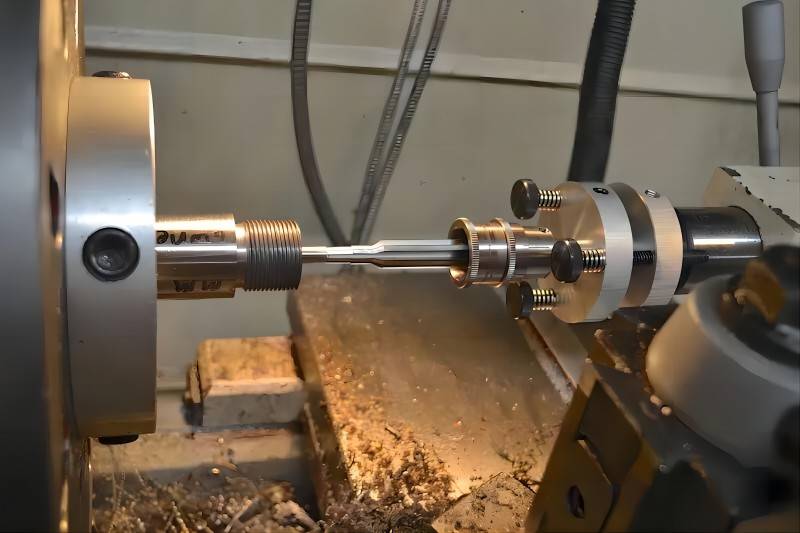
6. Reaming
Reaming is a semi-finishing or finishing process that utilizes a fluted tool to enlarge and refine the diameter of a pre-drilled hole. Reaming achieves a higher level of precision compared to drilling, typically reaching a range of IT9 to IT7. The surface roughness resulting from reaming can be as low as 3.2 µm.
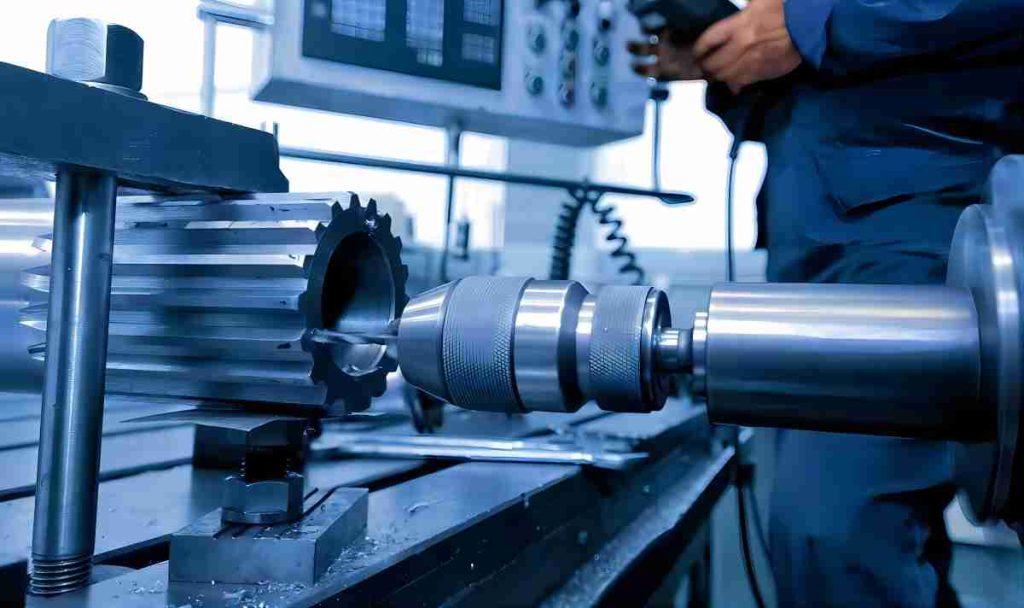
7. Boring
Boring is a machining process that employs a single-point cutting tool to enlarge and precisely define the diameter and cylindrical shape of a pre-existing hole. Boring is often used for applications requiring high precision and a smooth surface finish. Boring operations can achieve a precision level of IT9 to IT7, similar to reaming. The surface roughness achievable through boring can be as low as 0.16 µm.
Factors Affecting Precision Selection
The selection of the appropriate precision level for a CNC machining operation hinges on several critical factors:
- Material Properties: The inherent properties of the workpiece material can significantly influence achievable precision. Harder and more brittle materials often require stricter control over cutting forces and tool deflection to maintain tight tolerances.
- Part Complexity: The geometric complexity of the workpiece plays a role in determining the achievable precision. Parts with intricate features or tight corners may necessitate sacrificing some level of precision for manufacturability.
- Dimensional Tolerances: The specified dimensional tolerances on the engineering drawing directly dictate the required precision level. Tighter tolerances demand higher precision machining processes.
- Surface Finish Specifications: The desired surface finish of the finished workpiece also influences the selection of precision level. Achieving a smoother surface finish often necessitates employing finishing operations like grinding or polishing.
- Cost Considerations: Higher precision machining processes typically involve slower machining speeds, specialized tooling, and potentially more complex setups. These factors contribute to increased production costs.
Conclusion
Precision is a paramount aspect of CNC machining, directly impacting the dimensional accuracy, functionality, and overall quality of the finished parts. Understanding the concept of tolerance and the standardized ISO tolerance grades is crucial for specifying the required precision level. Different CNC machining processes have inherent capabilities and limitations regarding achievable precision. Factors like material properties, part complexity, dimensional tolerances, and surface finish requirements all play a role in selecting the most appropriate precision level for a specific application. By carefully considering these factors, manufacturers can optimize their CNC machining processes to achieve the desired level of precision while maintaining cost-effectiveness.
The relentless advancements in CNC machining technology continuously push the boundaries of achievable precision. Developments in machine tool design, cutting tool materials, and advanced control systems enable ever-tighter tolerances and exceptional surface finishes. This ongoing evolution ensures that CNC machining remains an indispensable technology for creating high-precision and high-quality components across various industries.

