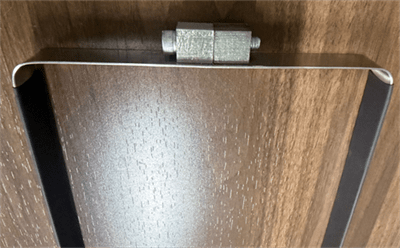
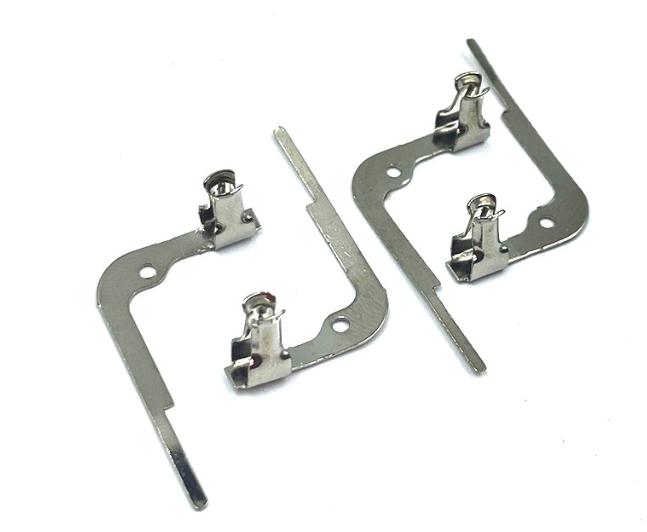
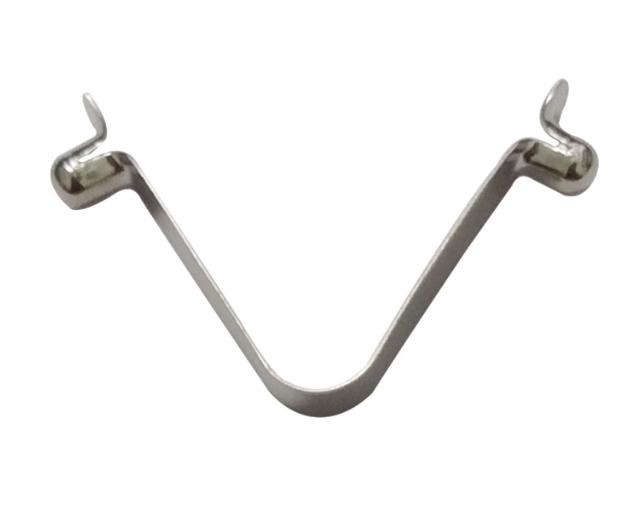
Why Acceptance Standards Matter for Metal Stamping Parts
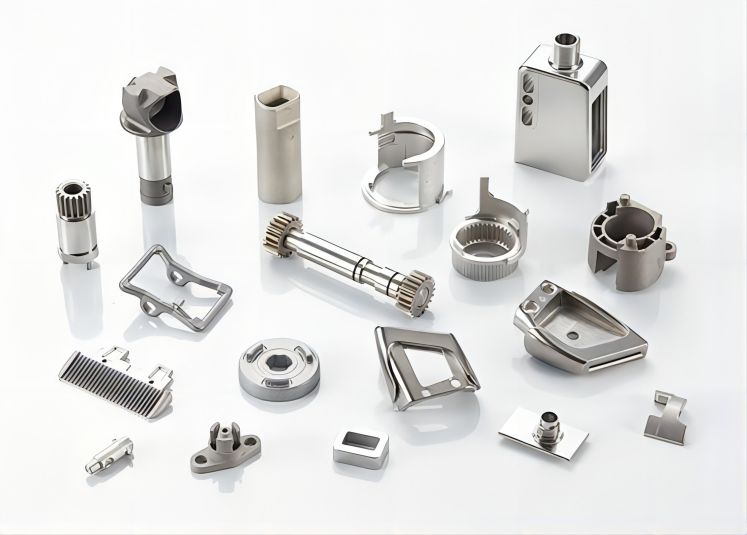
From the sleek curves of a car body to the intricate gears within a watch, metal stamping parts form the backbone of countless products we use every day. Their precise shapes, unwavering strength, and consistent quality are crucial for ensuring safety, performance, and longevity. But how do these seemingly simple pieces of metal achieve such a high level of dependability? The answer lies in a meticulous process, from stringent acceptance standards to rigorous testing and dedicated maintenance.

The Imperative of Precision: Why Acceptance Standards are Rigorous for Metal Stamping Parts
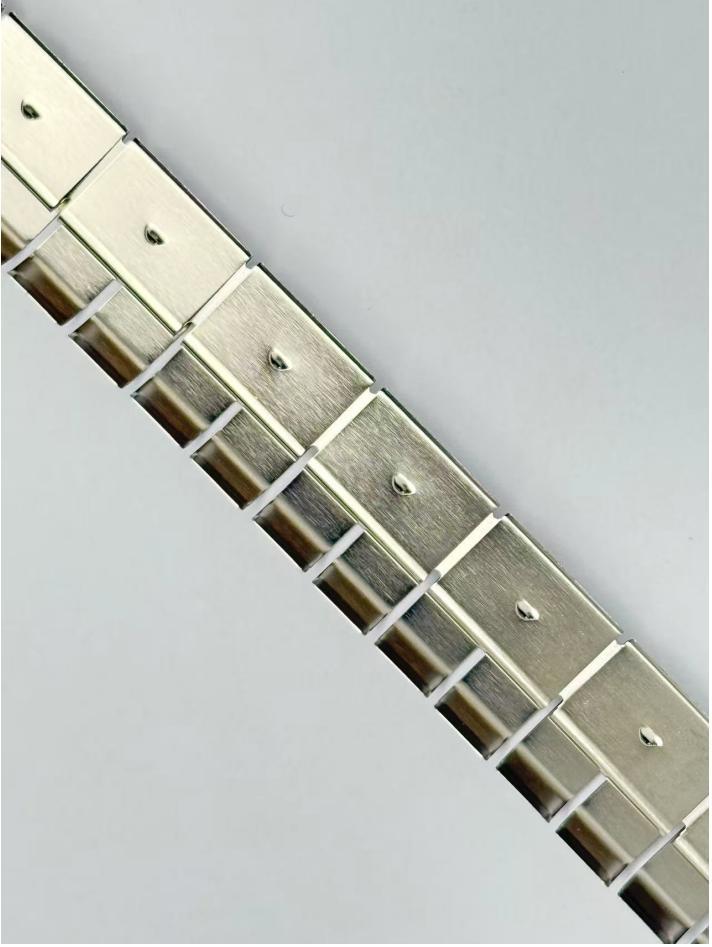
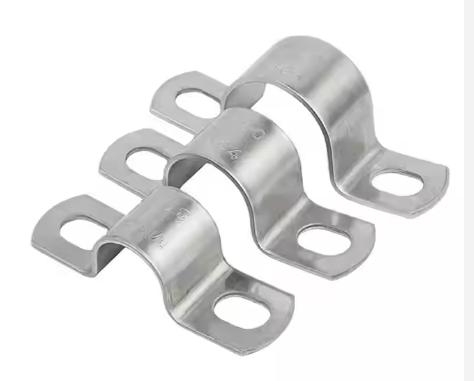
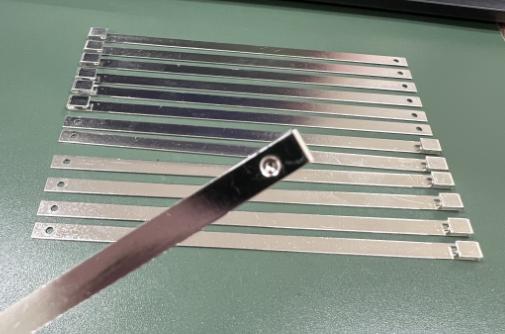
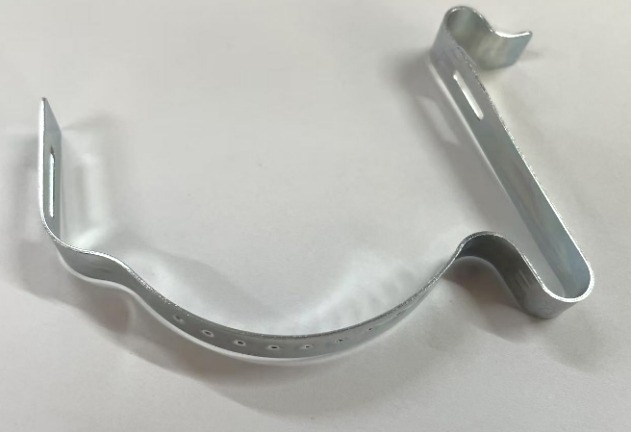
Metal stamping parts form the backbone of countless manufactured products, playing vital roles in diverse applications. From automotive chassis to electronic housings, their integrity is crucial. Compromised parts can trigger cascading failures with severe consequences. Consider a crumbling brake pad or a sheared gear during engine operation – scenarios exposing the criticality of stringent quality control in metal stamping.
The stringent acceptance standards for these parts are driven by three key factors: safety, performance, and cost.
- Safety First: In applications where failure could lead to injury or even death, meticulous quality control is paramount. Think of the suspension components in your car, the engine blades in an airplane, or the pressure vessels in industrial settings. The slightest deviation from the specified tolerances could spell disaster. Rigid acceptance standards ensure that these parts are forged to withstand the forces they’ll encounter, safeguarding the lives and well-being of those around them.
- Performance Perfection: Metal stamping parts are often the building blocks of complex systems. Gears need to mesh seamlessly, car panels need to fit snugly, and electrical components require precise dimensions for optimal functionality. Any deviation from the intended shape or size can lead to assembly problems, leaks, and performance issues. Strict acceptance standards guarantee the parts meet the exacting needs of the assembled product, ensuring smooth operation and reliable service.
- Cost-Effective Excellence: Rejects and rework due to non-conforming parts are costly burdens for manufacturers. Stringent acceptance standards help to minimize these issues by catching discrepancies early on in the production process. This reduces the need for rework, scrap, and downtime, ultimately contributing to a more cost-effective and efficient operation.
The Internal Fortitude Test Method of Metal Stamping Parts
Hardness, a fundamental mechanical property, serves as a crucial indicator of a metal’s ability to resist deformation and wear. For metal stamping parts, where dimensional accuracy and structural integrity are paramount, an accurate assessment of hardness is an essential element of quality control. To unveil the intrinsic strength of these components, various standardized testing methods are employed, each offering distinct advantages and catering to specific needs.
- The Rockwell Indentation Test: This widely used method utilizes a small indenter (ball or cone) to create a localized indentation under a defined load. The depth of this indentation, measured with high precision, translates to a Rockwell hardness value, providing a rapid and reliable index of the material’s surface hardness. This method is particularly suitable for routine quality control due to its ease of use and quick turnaround time.
- The Brinell Indentation Test: Employing a hardened steel ball as the indenter, this test creates a larger indentation compared to the Rockwell approach. The diameter of this indentation is then measured, and a Brinell hardness number is calculated. This method offers several advantages. Firstly, the larger indentation area provides a more integrated assessment of the material’s bulk hardness, making it suitable for testing thicker and harder materials. Additionally, the wider range of available load options allows for tailoring the test to specific material properties.
- The Vickers Microhardness Test: This versatile method utilizes a diamond pyramid indenter to create a diagonal indentation on the material surface. The precise measurement of the diagonals of this indentation allows for the calculation of the Vickers hardness value, renowned for its high accuracy and sensitivity. This makes the Vickers test ideal for characterizing the hardness of thin sheets, small parts, and areas with significant microstructural variations. Its suitability for a wide range of materials, including metals, ceramics, and composites, further broadens its applicability in diverse manufacturing settings.
Choosing the Optimal Method: The selection of the most appropriate hardness testing method for a specific metal stamping application depends on several critical factors. The material type, its microstructure, and the desired level of precision are crucial considerations. Additionally, the size and geometry of the part, as well as any potential surface modifications, can influence the choice of method. Consulting with qualified metallurgists and adhering to established industry standards, such as ASTM E18, ensures that the chosen test accurately reflects the true hardness properties of the material and provides reliable data for informed decision-making during the manufacturing process.
Maintenance Tips: Optimizing the Lifespan of Metal Stamping Parts
The installation of a metal stamped part into a larger assembly marks not the culmination, but rather the initial phase of its operational tenure. While meticulous quality control during production dictates its initial integrity, consistent and effective maintenance practices are paramount in perpetuating its performance and structural integrity throughout its service life. This section outlines key strategies for maximizing the operational longevity of stamped components:
- Proactive Inspections: Implementing a regimen of routine visual inspections fosters a proactive approach to maintenance. This vigilance enables early detection of potential anomalies like wear, cracking, or incipient corrosion, allowing for timely interventions before minor issues escalate into costly operational disruptions.
- Optimized Cleaning and Lubrication: Maintaining a pristine state for these components plays a critical role in thwarting corrosion and ensuring smooth operation. Regularly scheduled cleaning removes debris and potential contaminants, while adhering to manufacturer-recommended lubrication protocols minimizes wear and tear, effectively extending the functional lifespan of moving parts.
- Environmental Control: When not actively deployed, proper storage becomes a crucial factor in preserving their integrity. Storing components in a dry and temperature-controlled environment minimizes the risk of rust formation and warping, ensuring they remain readily available for deployment whenever required.
- Load Management: Exceeding the designated load capacity of any stamped component can precipitate premature failure. Therefore, thoroughly understanding and rigorously adhering to the load limitations of each component is essential for guaranteeing their sustained functionality.
- Seeking Expert Guidance: Should any concerning changes become apparent in the appearance, performance, or operational characteristics of a stamped component, promptly seeking consultation with qualified technicians is highly recommended. This proactive approach can often avert costly downtime, repairs, and potentially even safety hazards through prompt diagnosis and corrective action.
Conclusion
Metal stamping parts embody the synergy between human inventiveness and meticulous engineering. From initial design to final assembly and rigorous maintenance, these seemingly unassuming components embark on a journey meticulously calibrated to guarantee unwavering strength and performance. Stringent acceptance standards, robust testing procedures, and dedicated maintenance practices are not mere hurdles, but rather essential steps in a well-orchestrated concerto of precision and care.
By holding metal stamping manufacturers accountable to these exacting standards, we ensure that the products we utilize daily are built to endure and function flawlessly. The next time you admire the sleek lines of a vehicle or the intricate workings of a machine, remember the silent heroes – the metal stamping parts – forged in the fires of stringent standards and meticulously nurtured by dedicated care. They stand as the unseen guardians of safety, performance, and longevity, a testament that true quality whispers not in grandiose design, but in the unwavering focus on detail, the relentless pursuit of excellence, and the unwavering commitment to shaping a world where metal serves not simply as form, but as a foundation for unwavering reliability.

